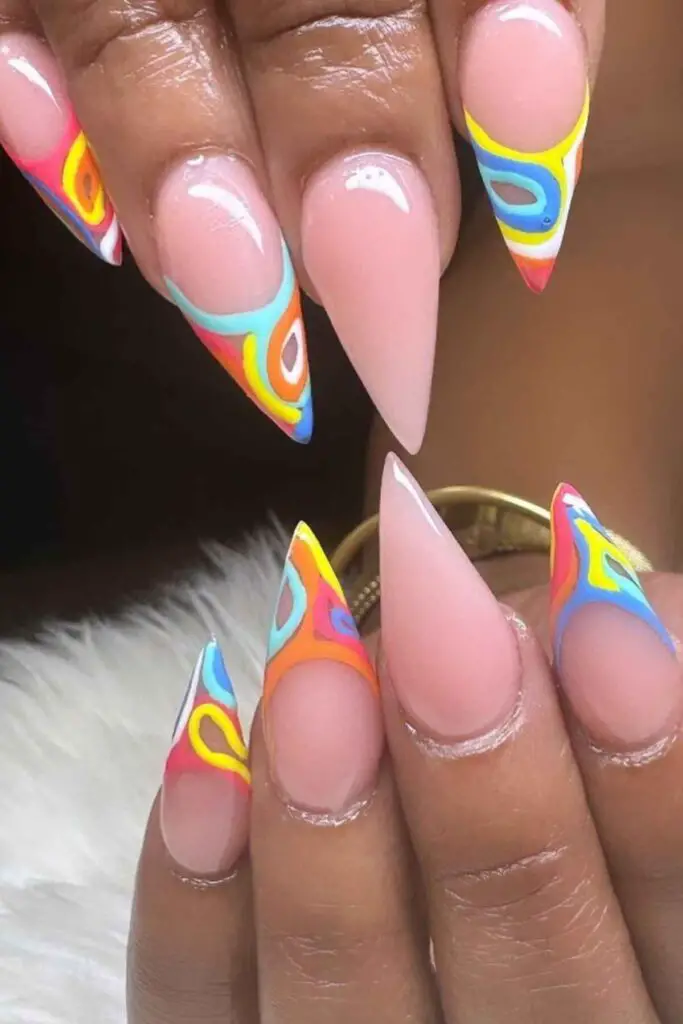
In the world of DIY nail art, acrylic nail sets are essential tools for achieving professional-looking nails at home. Whether you’re a nail art enthusiast or looking to start your own nail business, understanding acrylic nail sets is key.
This comprehensive guide covers everything you need to know about acrylic nail sets, from tutorials to supplies and design inspirations.
What is an Acrylic Nail Set?
An acrylic nail set typically includes essential tools and supplies for applying acrylic nails. These sets are designed to help you create durable and beautiful acrylic nails without visiting a salon. Here’s what you can expect to find in a typical acrylic nail set:
- Acrylic Nail Powders: Different shades and finishes to create various nail designs.
- Acrylic Liquid Monomer: Essential for mixing with powders to create the acrylic nail mixture.
- Nail Tips: Pre-shaped extensions that attach to your natural nails.
- Nail Forms: Alternative to tips, used for sculpting custom nail shapes.
- Nail Brush: Specifically designed for applying acrylic mixture.
- Nail Files and Buffers: Tools for shaping and refining nails.
- Cuticle Pusher and Nipper: For preparing the nail bed and cuticle maintenance.
- Top Coat and Base Coat: Sealants for adding shine and protection to acrylic nails.
Now, let’s delve deeper into the world of acrylic nails beyond the basic set components.
Acrylic Nail Tutorial: Step-by-Step DIY Guide
Mastering the art of applying acrylic nails requires practice and patience. Here’s a simplified step-by-step tutorial to help you get started:
- Preparation: Begin by cleaning and shaping your natural nails. Push back cuticles and gently roughen the nail surface for better adhesion.
- Applying Nail Tips or Forms: Choose between nail tips or forms based on your desired nail length and shape. Secure them to your natural nails using adhesive.
- Mixing Acrylic Liquid and Powder: Dip your nail brush into the acrylic liquid monomer and then into the acrylic powder. Mix to form a bead at the tip of the brush.
- Applying Acrylic Mixture: Place the bead onto your nail, near the cuticle area. Use the brush to spread the mixture evenly, covering the entire nail surface. Repeat for each nail.
- Shaping and Buffing: Once the acrylic has dried, shape the nails using a nail file. Buff the surface to smooth out imperfections and achieve a natural shine.
- Finishing Touches: Apply a top coat to seal and protect your acrylic nails. Allow them to dry completely before showcasing your new look!
For visual learners, there are numerous nail tutorial videos available online that demonstrate each step in detail.
DIY Nail Art Tools: Enhancing Your Nail Designs
Beyond the basics, DIY nail art tools can elevate your acrylic nail designs to the next level. Here are some essential tools and techniques to consider:
- Nail Stamping Kits: Easily transfer intricate designs onto your nails using stamping plates and a silicone stamper.
- Dotting Tools: Perfect for creating polka dots or intricate patterns with precision.
- Nail Decals and Stickers: Quick and easy way to add detailed designs without artistic skill.
- Nail Art Brushes: Fine-tipped brushes for freehand designs and intricate details.
- Glitters and Rhinestones: Add sparkle and dimension to your nails with glitter powders and gemstone embellishments.
Experiment with different techniques to discover your unique nail art style, whether it’s tropical-inspired designs or minimalist chic.
Acrylic Nail Supplies: Must-Haves for Your DIY Nail Kit
Building a comprehensive acrylic nail supplies collection ensures you’re always prepared for your next nail art masterpiece. Here’s a checklist of must-have supplies:
- UV/LED Lamp: For curing gel nails and ensuring long-lasting wear.
- Cuticle Oil: Hydrates and maintains the health of your cuticles after acrylic application.
- Nail Polish Remover: Essential for cleaning up mistakes and changing nail designs.
- Nail Hygiene Products: Sanitizers, sterilizers, and disposable tools for maintaining cleanliness.
- Storage and Organization: Keep your supplies organized with storage boxes or nail polish racks.
Having the right tools and supplies not only enhances your DIY nail experience but also supports nail health and longevity.
Nail Designs Inspirations: Embrace the Tropical Vibes
Get inspired by the latest nail trends and create stunning tropical-inspired designs for summer 2024. Whether you prefer vibrant hues or subtle pastels, tropical acrylic nails are all about fun and creativity. Here are some popular nail designs to consider:
- Square Fruit Nails: Featuring playful fruit motifs like pineapples, watermelons, and citrus fruits.
- Tropical Acrylic Nails: Sunset gradients, palm tree silhouettes, and beach-inspired accents.
- Cute Hawaiian Nails: Hibiscus flowers, sea turtles, and tropical leaf patterns.
- Coconut Nails: Miniature coconut designs with textured detailing for a realistic look.
Explore your creativity and personalize each design to match your summer style and personality.
FAQs About Acrylic Nail Sets
Q: Can beginners use acrylic nail sets?
A: Yes, acrylic nail sets come with step-by-step instructions and are designed for both beginners and experienced users.
Q: How long do acrylic nails last?
A: With proper application and care, acrylic nails can last up to two to three weeks before needing a touch-up or refill.
Q: Can I remove acrylic nails at home?
A: While it’s possible to remove acrylic nails at home, it’s recommended to visit a professional to avoid damaging your natural nails.
Q: Are acrylic nails safe for long-term use?
A: Regular use of acrylic nails can weaken natural nails. It’s essential to give your nails breaks between applications and prioritize nail health.
Take Note
Mastering DIY acrylic nails opens up a world of creativity and self-expression. Whether you’re preparing for a special occasion or simply enjoying some self-care time, acrylic nail sets provide the tools you need to achieve salon-quality results at home. Explore different designs, experiment with nail art techniques, and let your creativity shine through your unique nail creations.
With the right tools, inspiration, and knowledge, you can transform your nails into a canvas of beauty and style, reflecting the latest trends and your personal flair.


