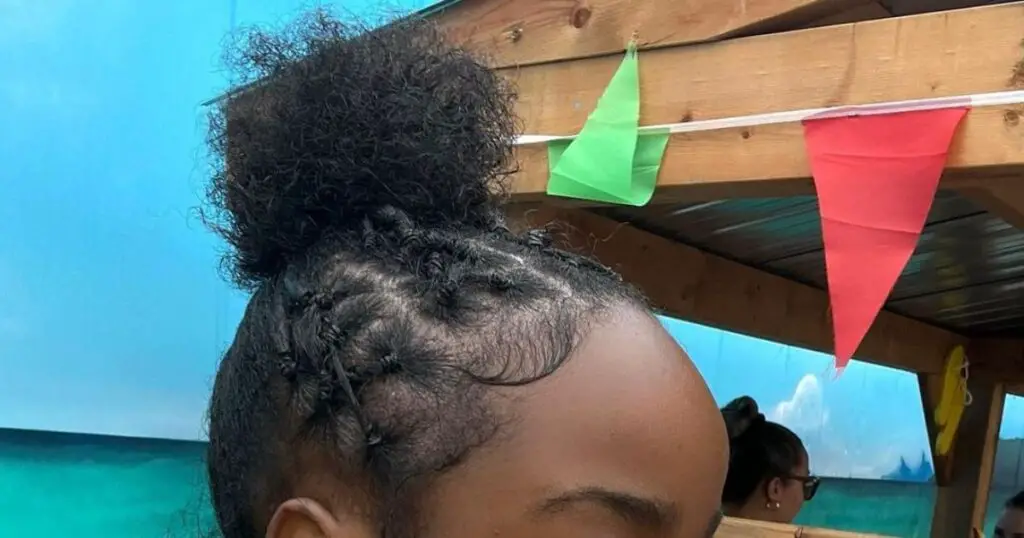
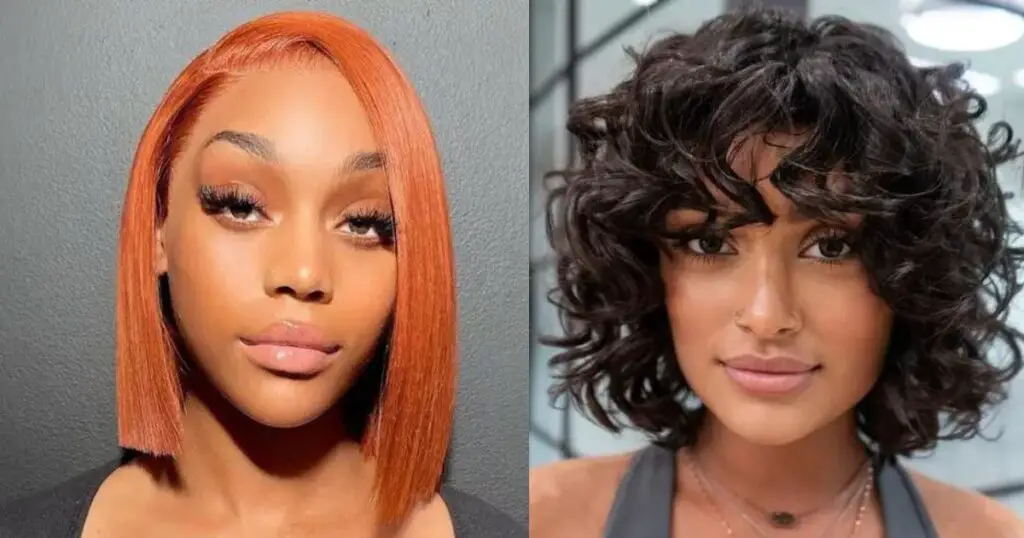
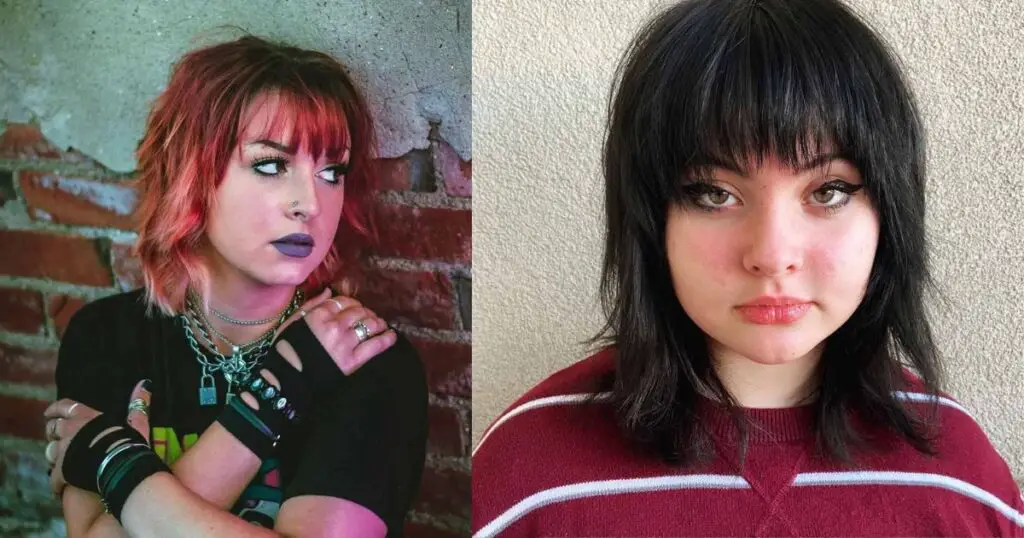
When planning a day at the waterpark, we often think about swimsuits, sunscreen, and snacks. But what about our hair?
Keeping your hair neat and pretty can be a challenge, especially when you’re splashing around all day. In this article, we’ll talk about several fantastic waterpark hairstyles that are perfect for a day of water fun.
Whether you want to feel like a mermaid or just keep your hair out of your face, we have you covered!
Why Waterpark Hairstyles Matter
Here are some of the reasons why waterpark hairstyles absolutely matter.
• Keeping Your Hair Tidy
Waterparks are full of slides, pools, and waves. Your hair can get tangled easily if it’s not secured properly. These waterpark hairstyles will help you keep your hair neat and tidy.
• Protecting Your Hair
Chlorine and sun can damage your hair. By styling your hair in a protective way, you can reduce exposure to these elements and keep your hair healthy.
• Looking Pretty
Who says you can’t look good while having fun? With the right hairstyle, you can feel confident and look pretty all day long.
What Are The Best Waterpark Hairstyles?
These are the VERY BEST waterpark hairstyles you should consider rocking.
1. Top Knot
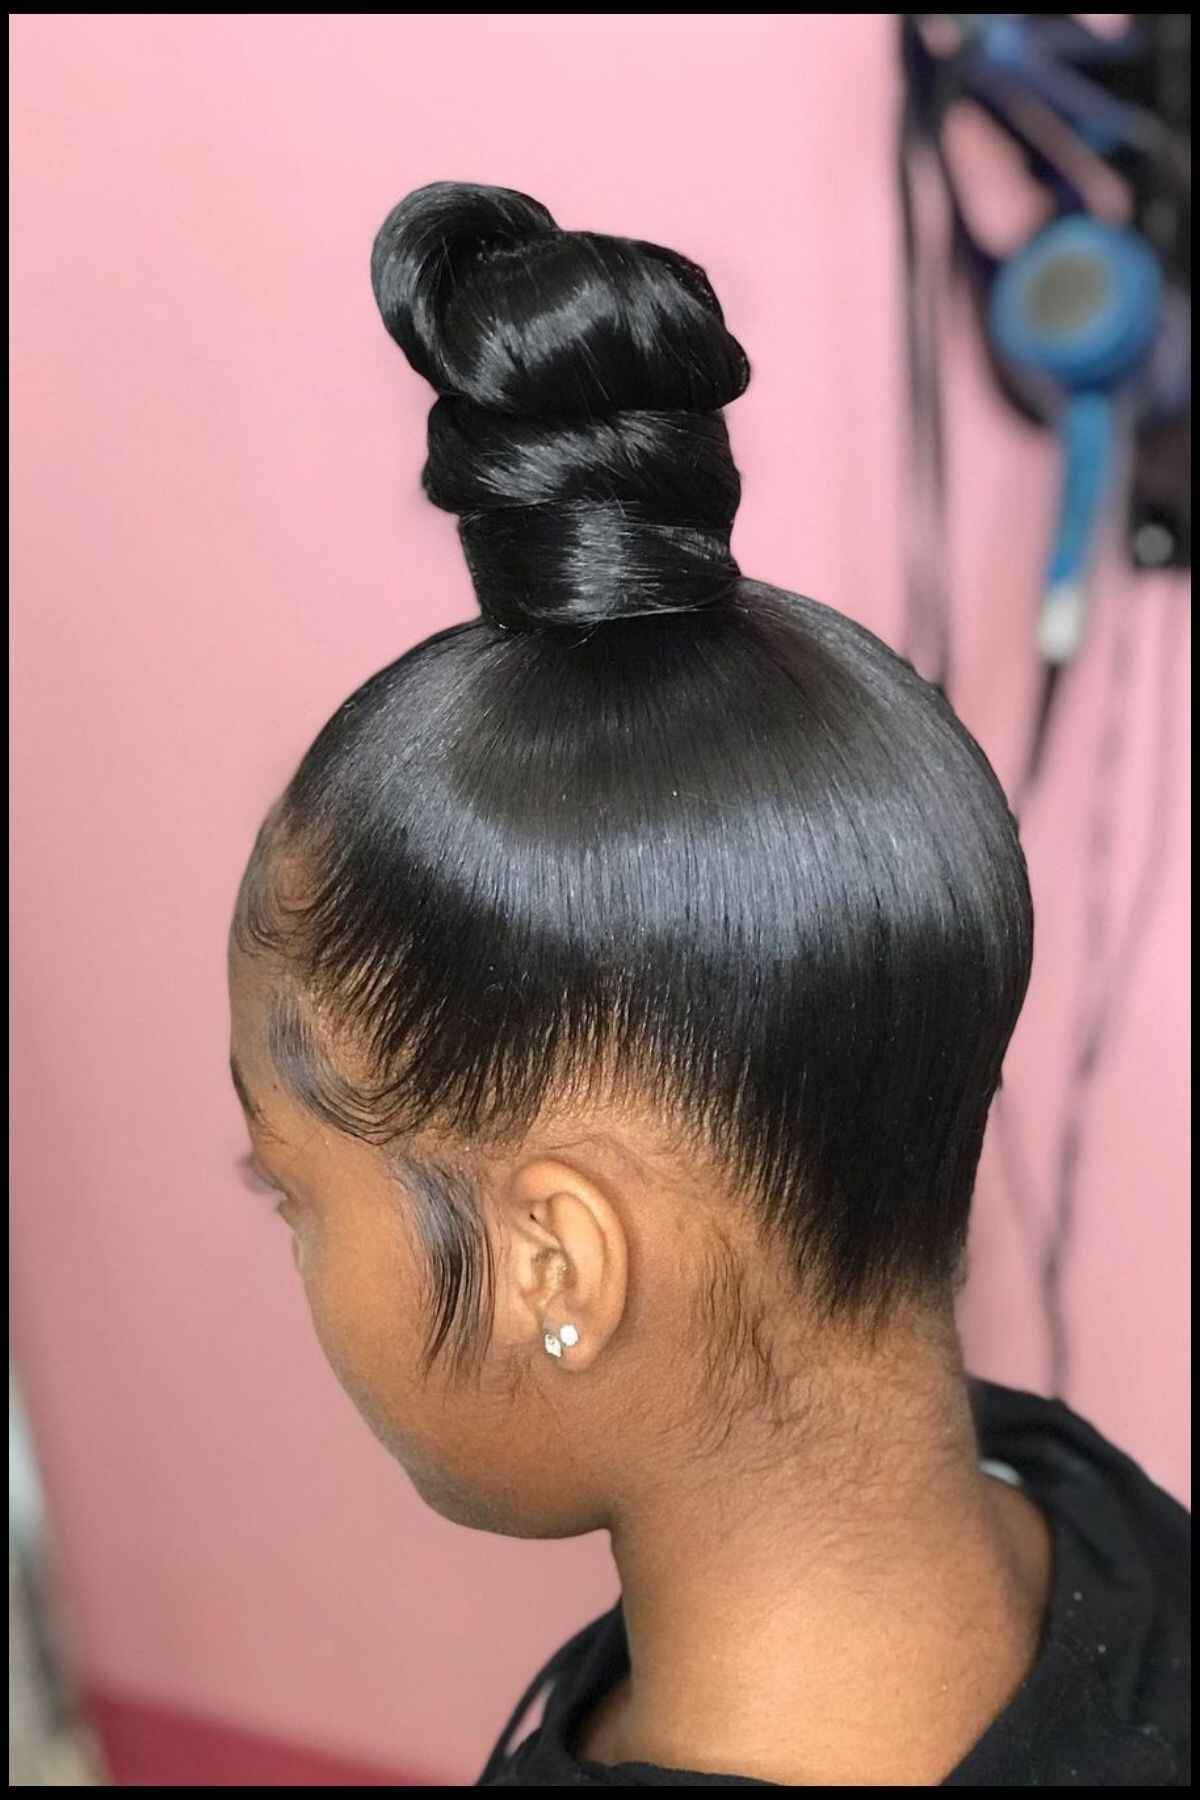
Photo: @glam_society
A top knot is a simple and stylish bun placed high on your head. It’s perfect for a water adventure because it keeps your hair out of your face and off your neck.
How to Create a Top Knot
Step-by-Step Instructions
- Brush Your Hair: Make sure your hair is free of tangles.
- Gather Your Hair: Pull all your hair up to the top of your head.
- Twist and Wrap: Twist your hair and wrap it around itself to form a bun.
- Secure the Bun: Use a hair tie or pins to secure the bun in place.
Benefits of a Top Knot
- Keeps Hair Dry: Keeps most of your hair out of the water.
- Easy to Do: Quick and simple to create.
- Cool and Comfortable: Keeps your neck cool.
2. High Ponytail With A Scrunchie
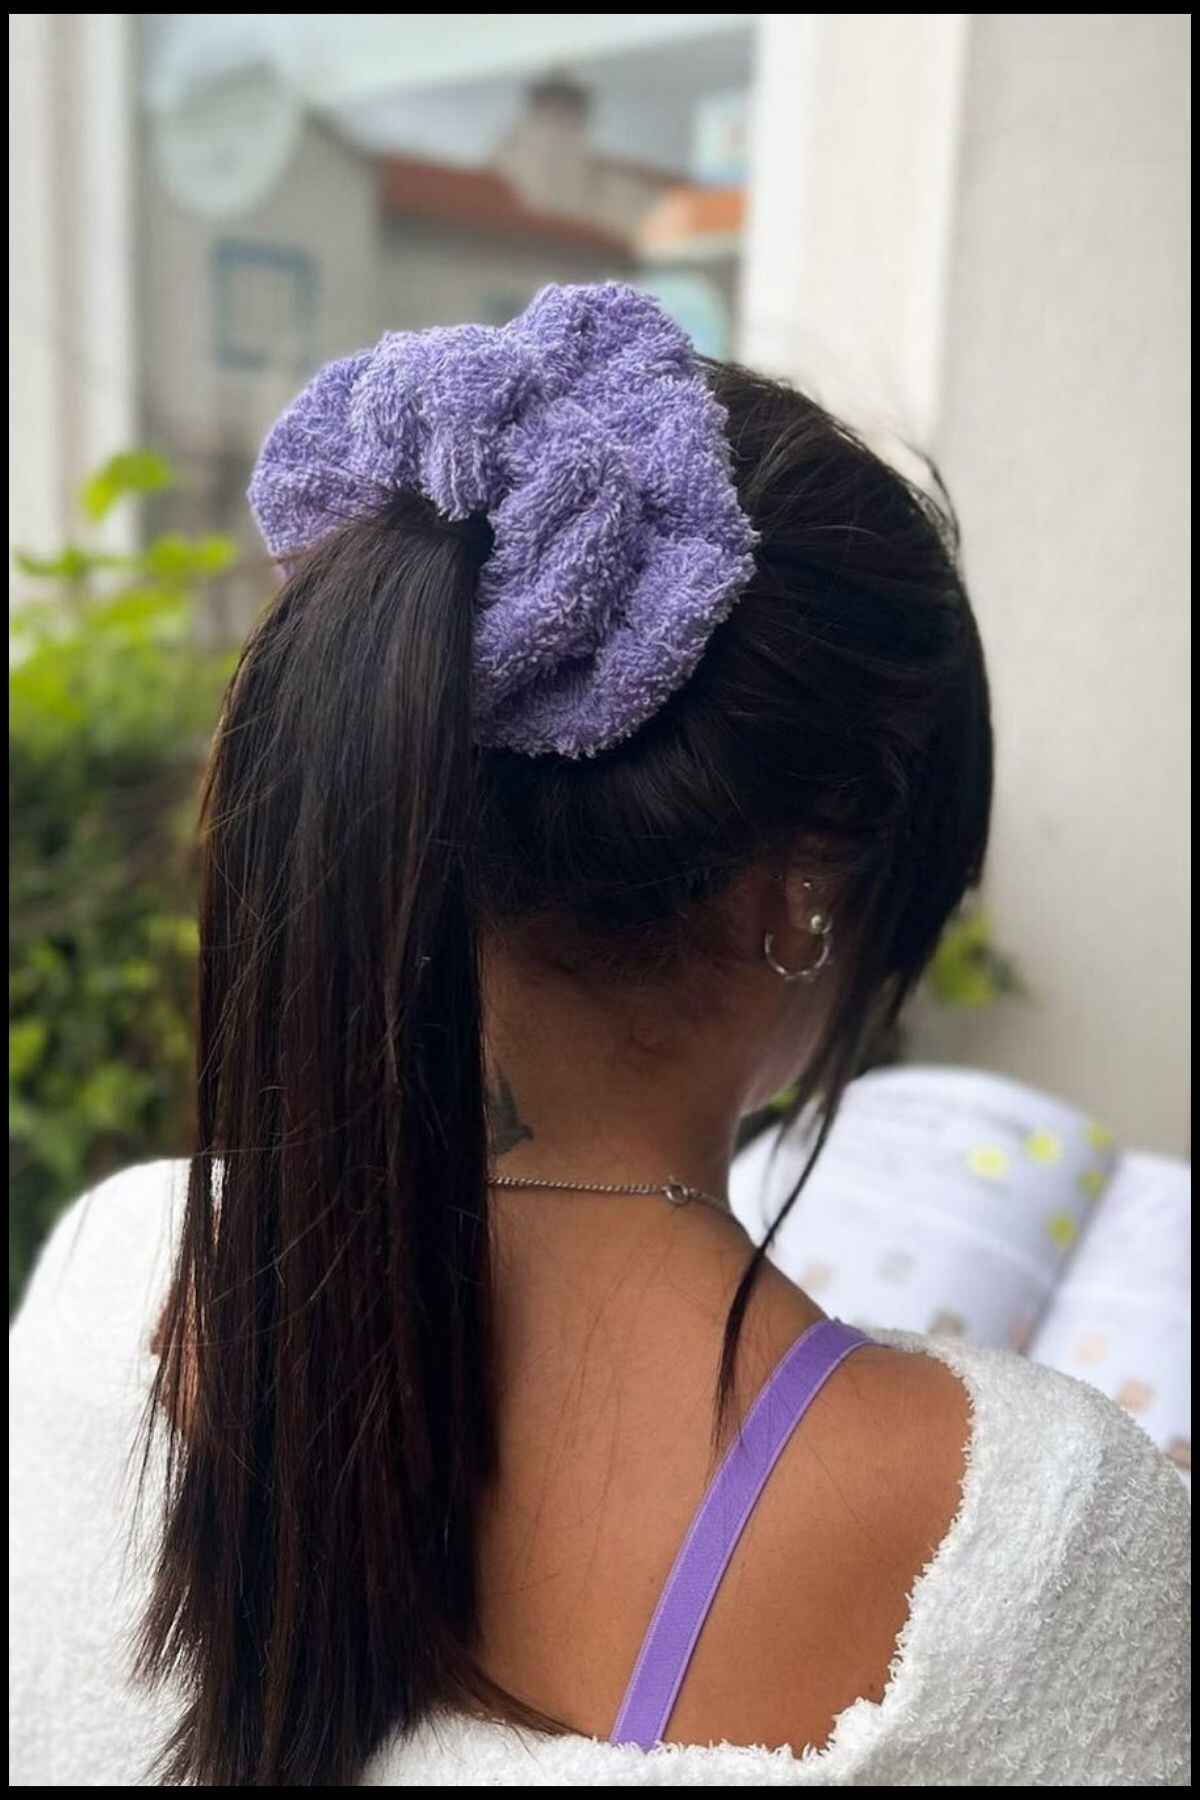
Photo: @gapiworld
2. High Ponytail with a Scrunchie
What Is a High Ponytail with a Scrunchie?
A high ponytail is a classic hairstyle where the hair is gathered at the crown of the head and secured with a scrunchie for added flair.
How to Create a High Ponytail with a Scrunchie
Step-by-Step Instructions
- Brush Your Hair: Remove any tangles.
- Gather Your Hair: Pull your hair up to the crown of your head.
- Secure with a Scrunchie: Use a scrunchie to tie the ponytail.
Benefits of a High Ponytail with a Scrunchie
- Quick and Easy: Simple to create.
- Stylish: The scrunchie adds a fun touch.
- Keeps Hair Out of Your Face: Perfect for active water fun.
3. Bubble Ponytail
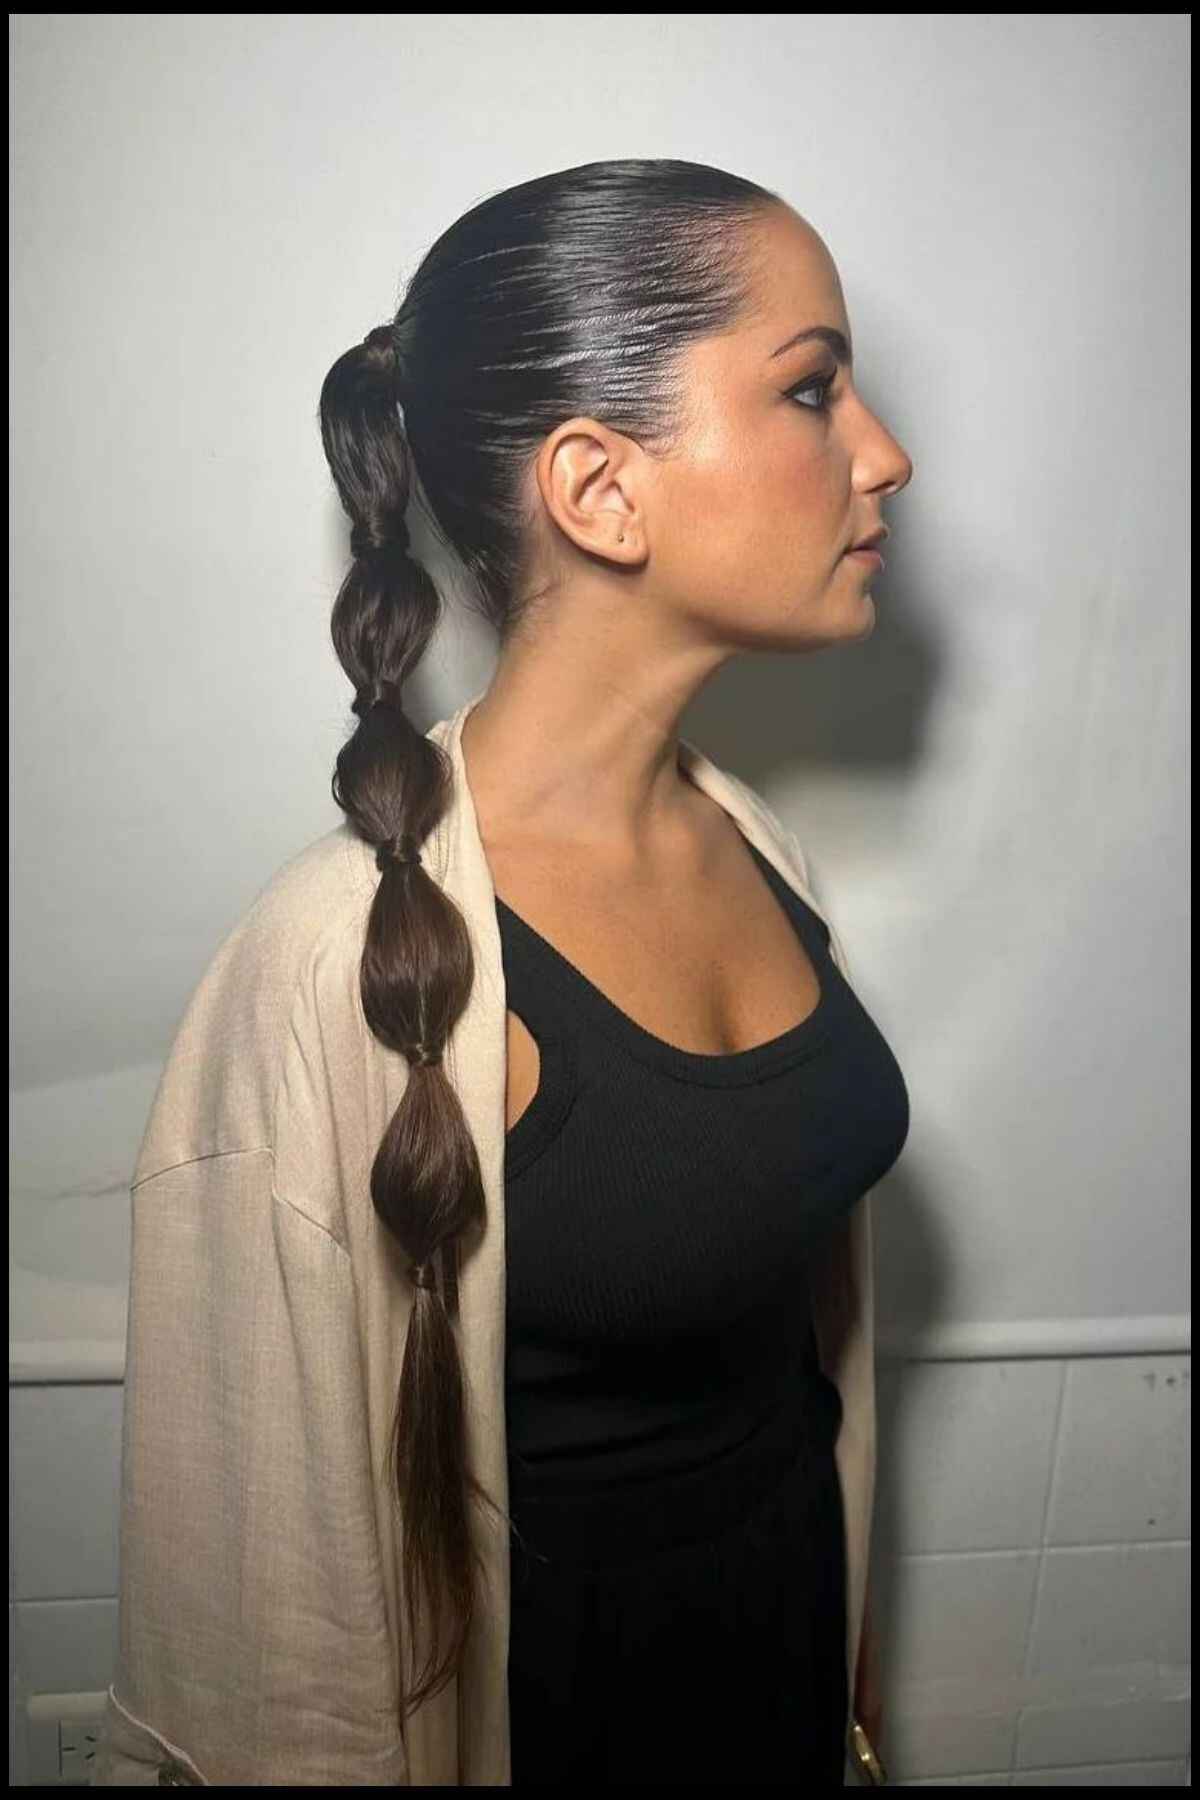
Photo: @arianaleivamakeup
A bubble ponytail is a fun and trendy style where small sections of a ponytail are tied off to create “bubbles” along the length of the ponytail.
How to Create a Bubble Ponytail
Step-by-Step Instructions
- Make a Ponytail: Gather your hair into a high ponytail.
- Add Hair Ties: Place hair ties down the length of the ponytail, spacing them evenly.
- Puff Out Sections: Gently pull on each section to create the “bubbles.”
Benefits of a Bubble Ponytail
- Fun and Trendy: A playful look that stands out.
- Keeps Hair Secure: Hair stays in place.
4. French Braids
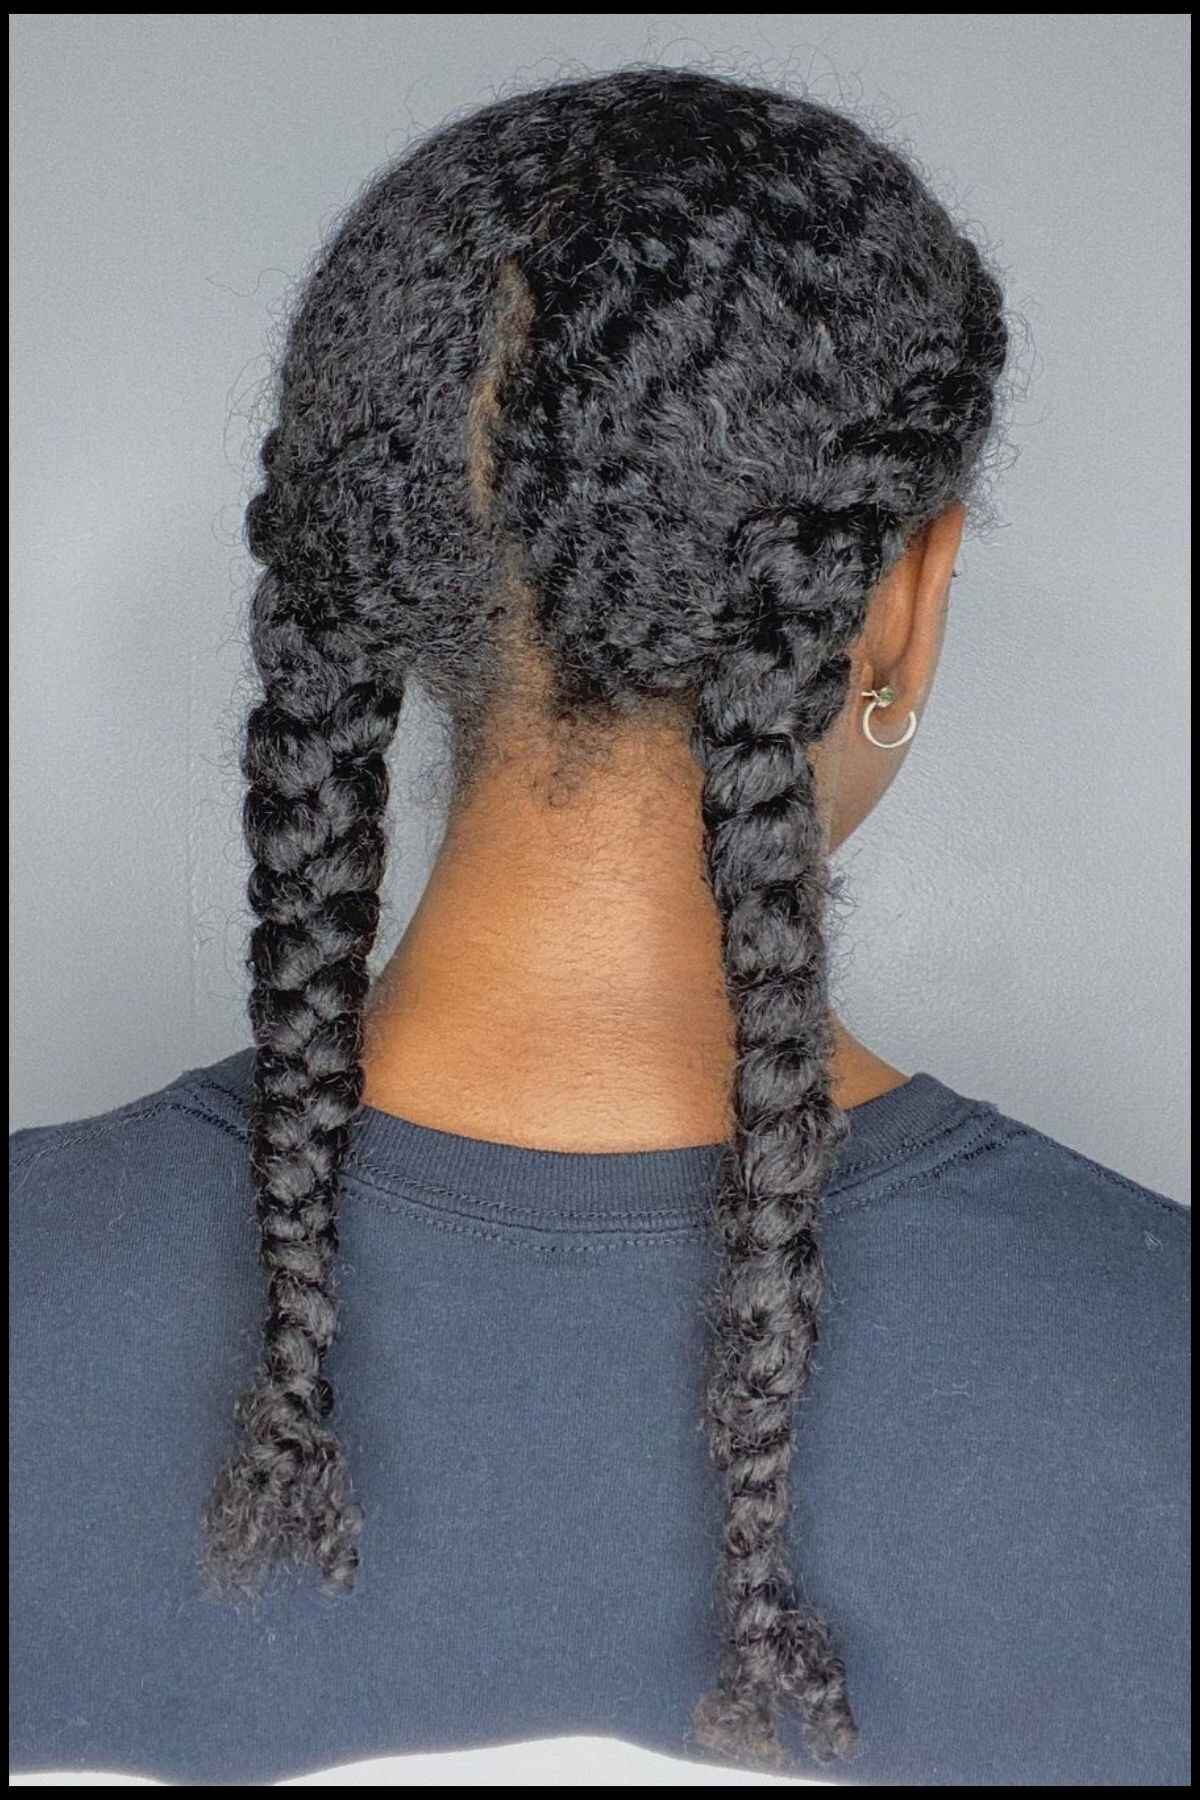
Photo: @kiana_hackett
French braids start at the crown of the head and incorporate sections of hair as you braid down, creating a beautiful, tight braid.
How to Create French Braids
Step-by-Step Instructions
- Part Your Hair: Divide your hair into two sections.
- Start Braiding One Side: Begin a traditional braid, adding small sections of hair as you go.
- Repeat on the Other Side: Repeat the process on the other side.
- Secure the Ends: Use hair ties to secure the ends.
Benefits of French Braids
- Neat and Tidy: Keeps hair in place.
- Classic and Elegant: Always in style.
5. Mermaid Braid
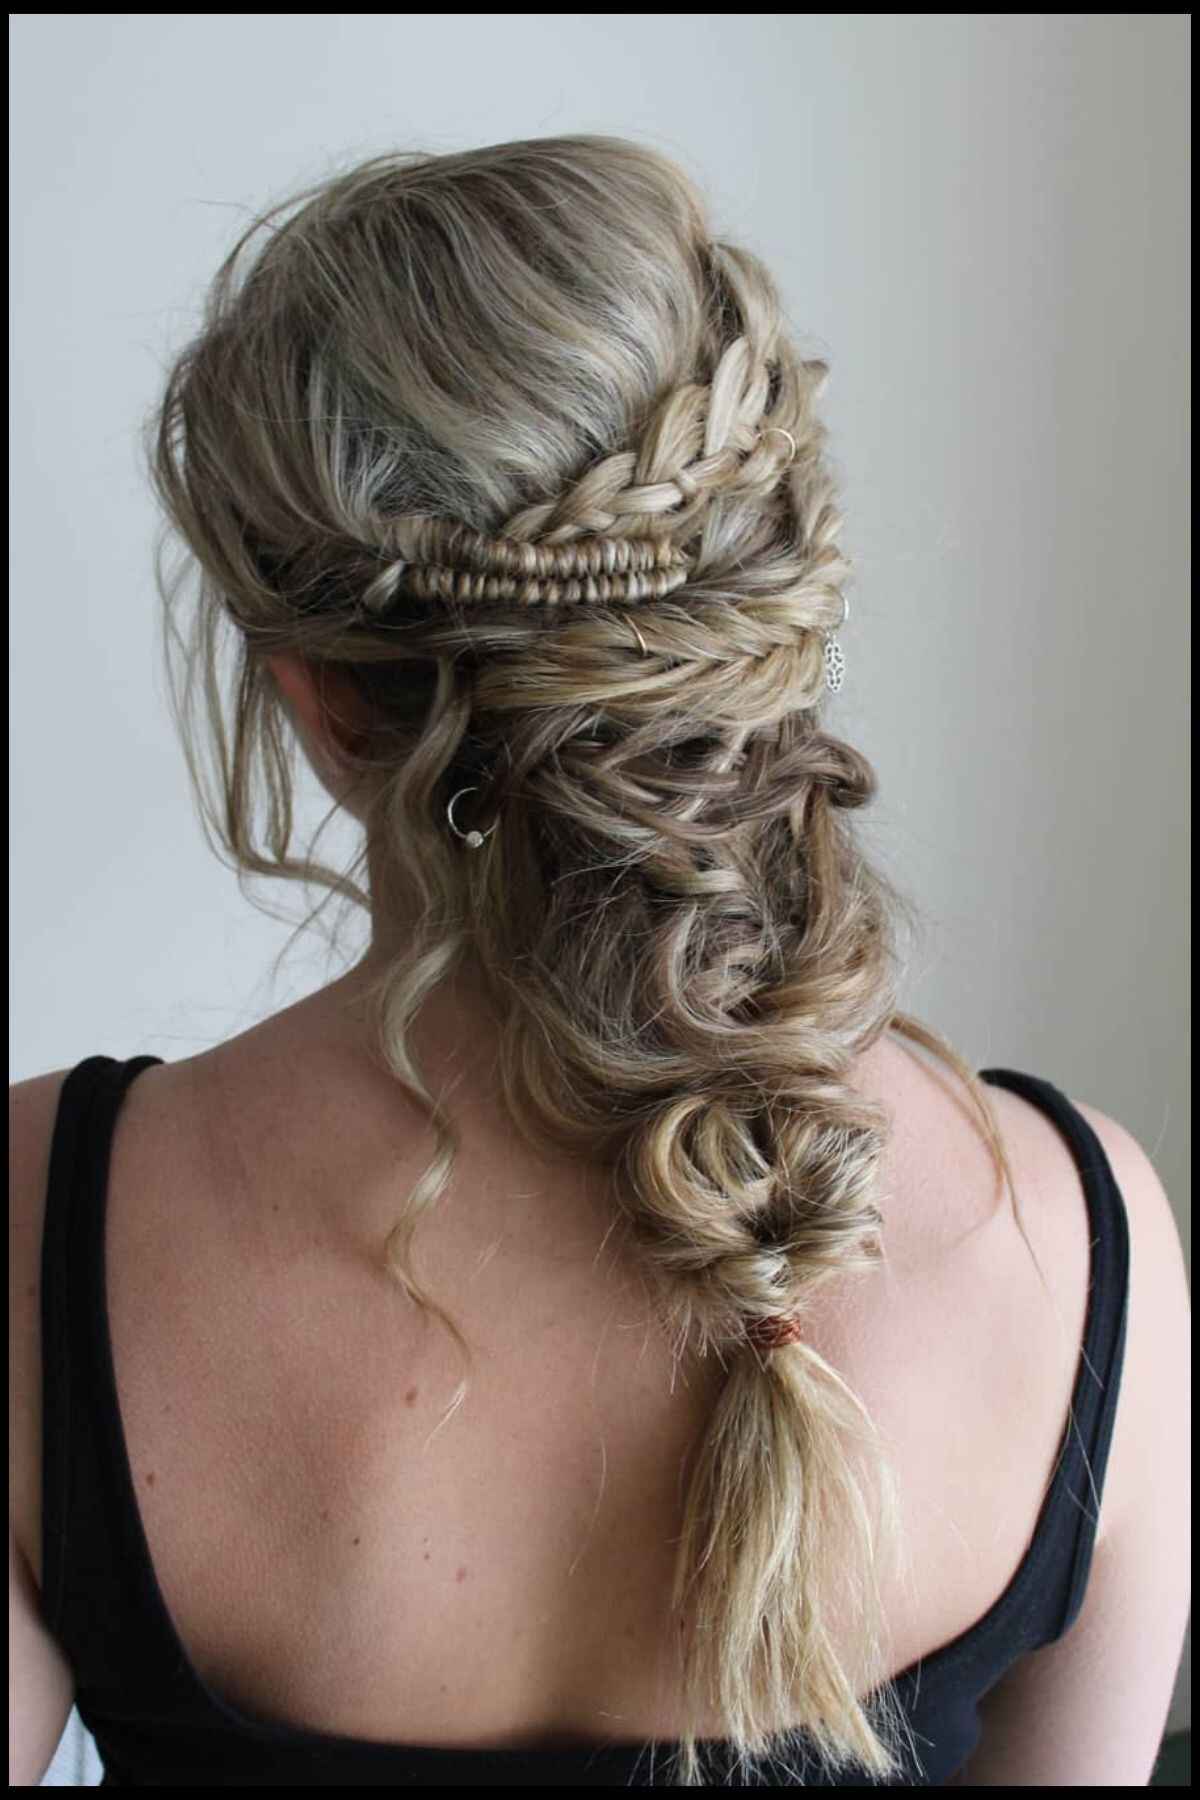
Photo: @theupdogirl
A mermaid braid is a beautiful and intricate braid that looks like the flowing hair of a mermaid. It’s perfect for a water adventure because it keeps your hair secure and stylish.
How to Create a Mermaid Braid
Step-by-Step Instructions
- Brush Your Hair: Make sure your hair is free of tangles.
- Part Your Hair: Create a deep side part.
- Start Braiding: Take a small section of hair from the top and begin a French braid.
- Add More Hair: Continue adding small sections of hair as you braid down the side of your head.
- Secure the Braid: When you reach the end, secure the braid with a small elastic band.
Benefits of a Mermaid Braid
- Stays in Place: The braid keeps your hair secure even when you’re on water slides.
- Looks Gorgeous: It’s a pretty hairstyle that looks great in photos.
- Protects Your Hair: Reduces exposure to chlorine and sun.
6. Dutch Braid
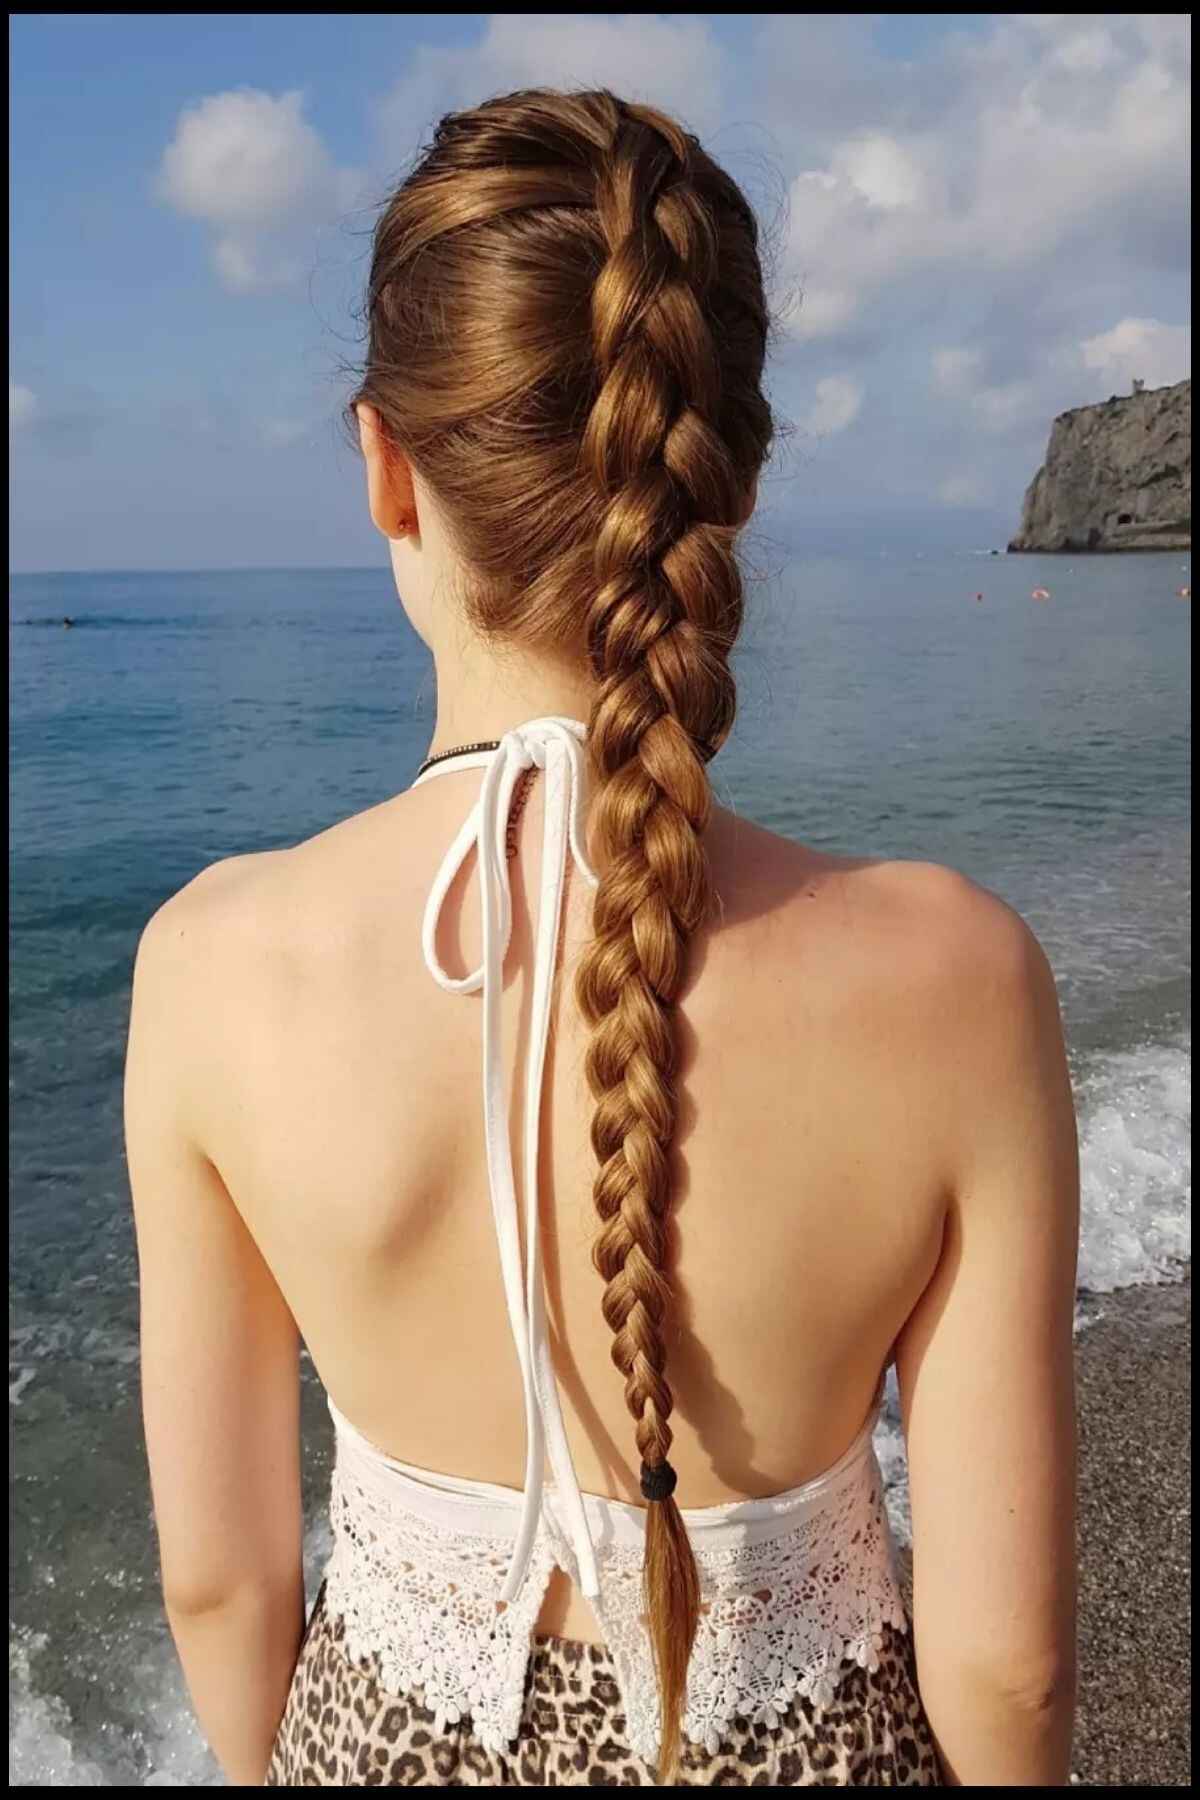
Photo: @belleblondehair
A Dutch braid is similar to a French braid but is created by crossing sections of hair under rather than over, resulting in a braid that sits on top of the hair.
How to Create a Dutch Braid
Step-by-Step Instructions
- Brush Your Hair: Remove any tangles.
- Part Your Hair: Part your hair down the middle into two equal sections.
- Start Braiding One Side: Begin a Dutch braid, crossing sections under each other.
- Repeat on the Other Side: Repeat the process on the other side.
- Secure the Braids: Secure each braid with an elastic band.
Benefits of a Dutch Braid
- Long-Lasting: Stays in place all day.
- Comfortable: Keeps hair off your neck and out of your face.
- Trendy: Stylish and perfect for a waterpark day.
7. High Bun
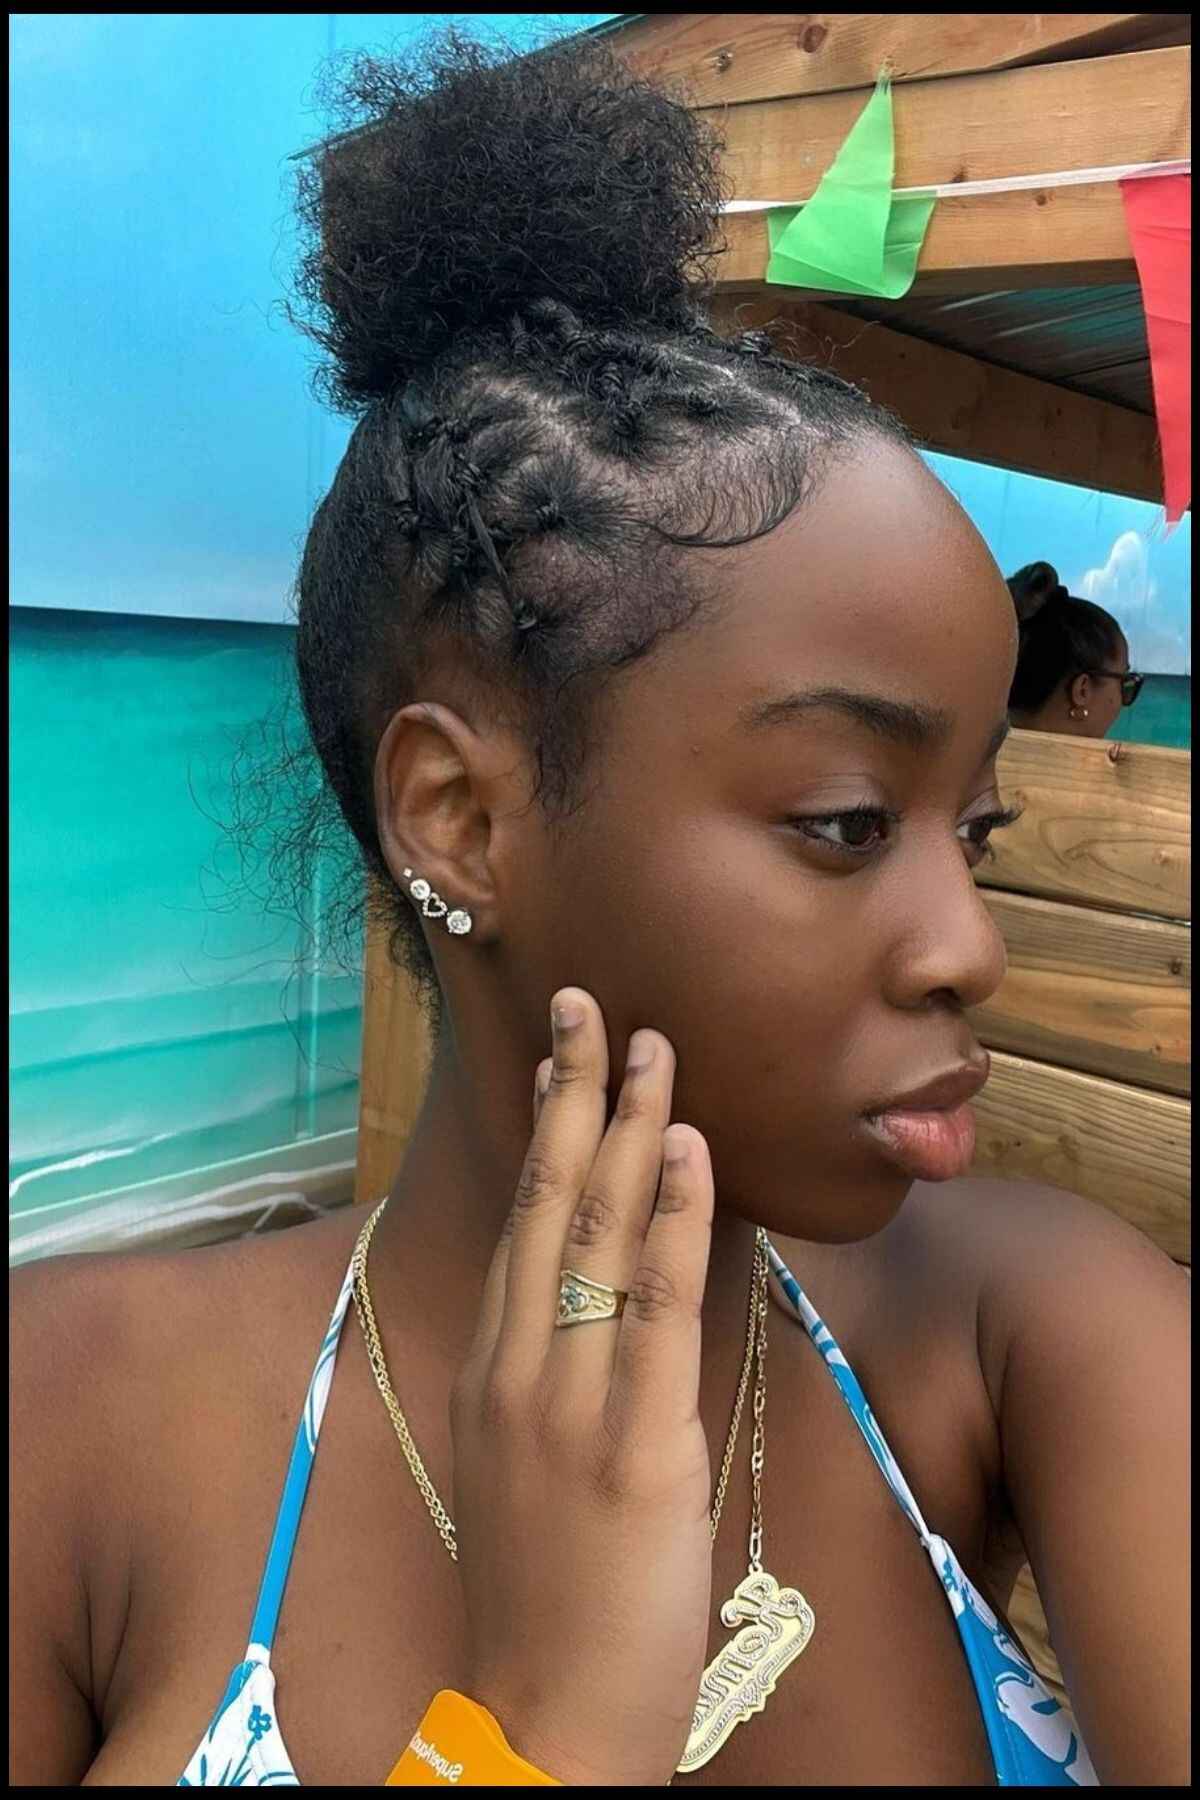
Photo: @thee.f0reign
A high bun is a classic updo where the hair is gathered and twisted into a bun at the crown of the head.
How to Create a High Bun
Step-by-Step Instructions
- Brush Your Hair: Ensure your hair is tangle-free.
- Gather Your Hair: Pull your hair up to the crown of your head.
- Twist and Wrap: Twist your hair and wrap it around itself to form a bun.
- Secure the Bun: Use a hair tie or pins to secure the bun.
Benefits of a High Bun
- Keeps Hair Dry: Most of your hair stays out of the water.
- Cool and Comfortable: Keeps your neck cool.
8. Pull-Through Braid Into A Fishtail Braid
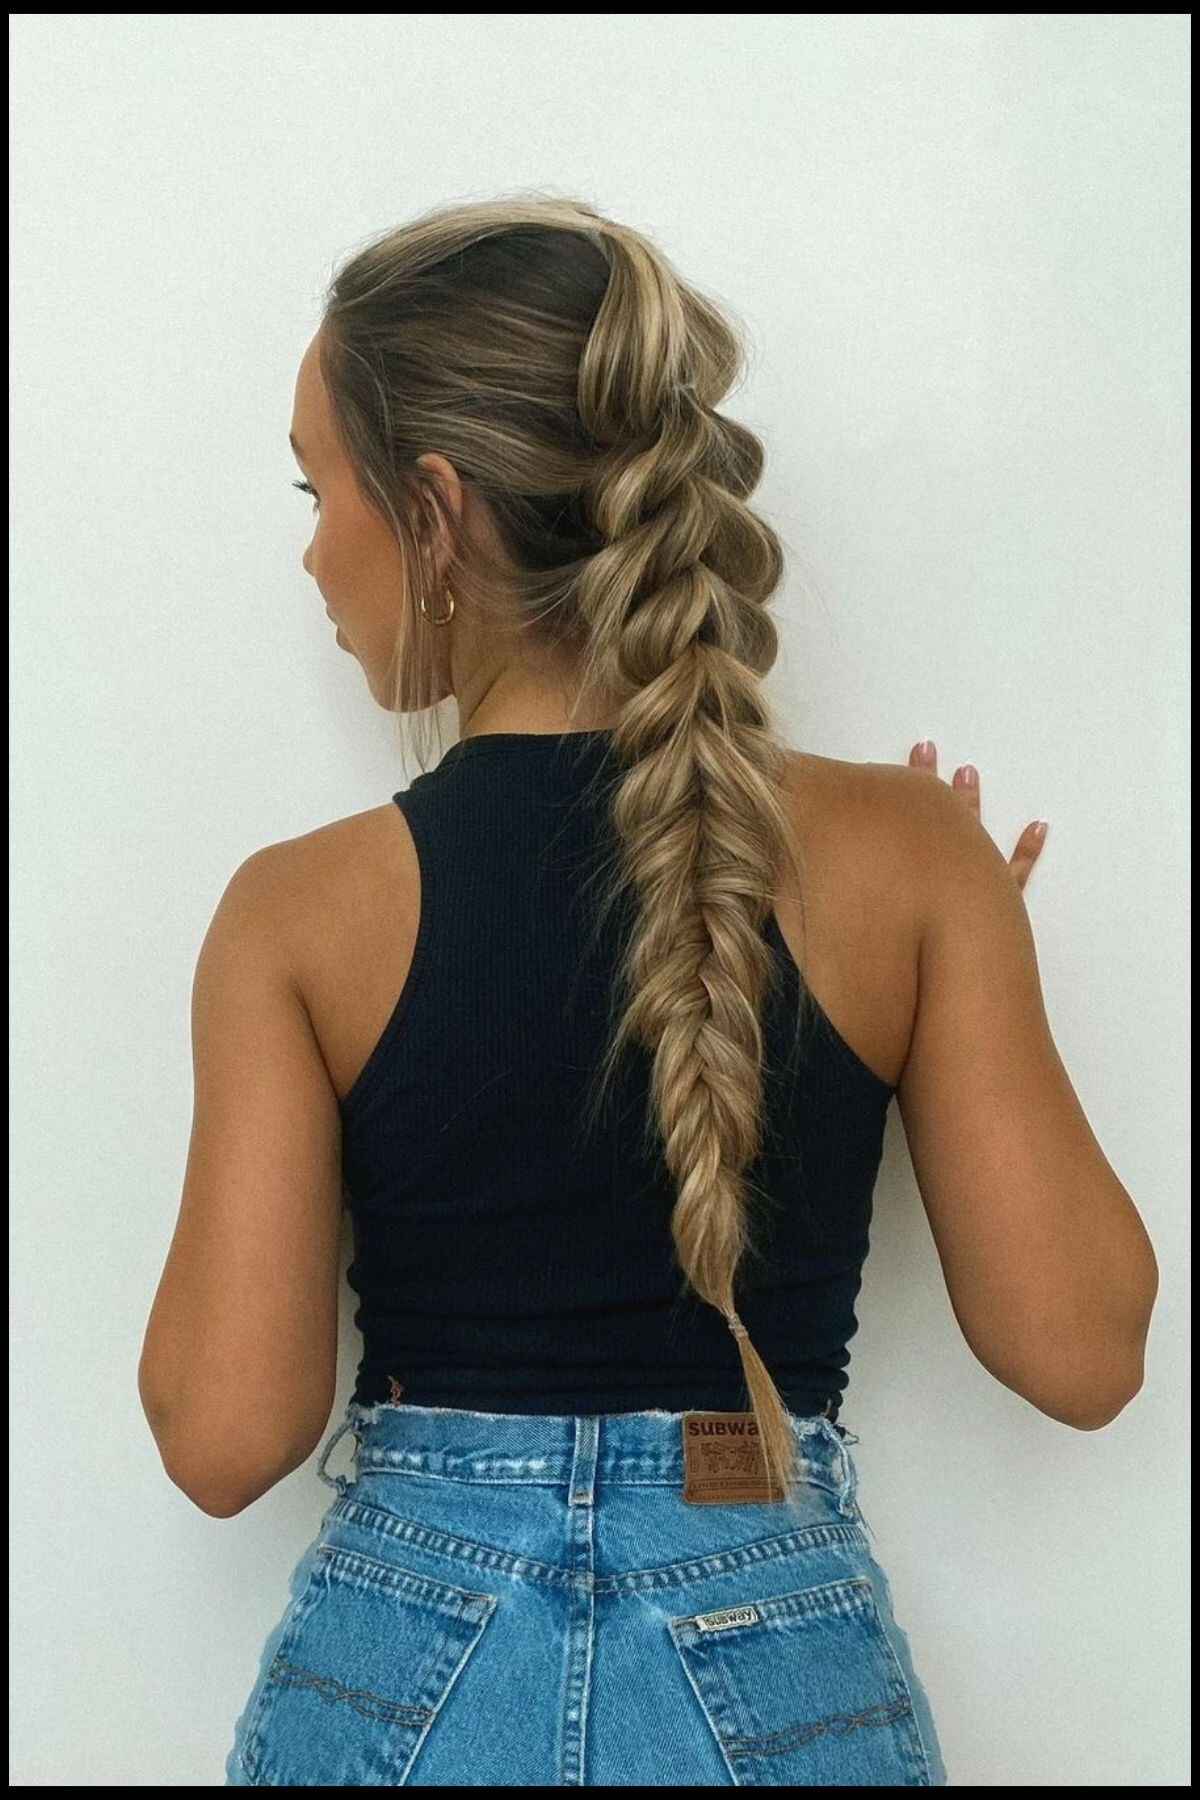
Photo: @roralovestrand
This style combines two braids: a pull-through braid at the top transitioning into a fishtail braid at the bottom.
How to Create a Pull-Through Braid Into a Fishtail Braid
Step-by-Step Instructions
- Create a Pull-Through Braid: Start with a small ponytail and add more hair as you create sections.
- Transition to Fishtail: Once you reach the nape, split the hair into two sections and create a fishtail braid.
- Secure the End: Use an elastic band to secure the end.
Benefits of a Pull-Through Braid Into a Fishtail Braid
- Unique Look: Combines two styles for a distinctive appearance.
- Secure and Stylish: Keeps hair in place while looking intricate.
9. Low Bun With A Scarf
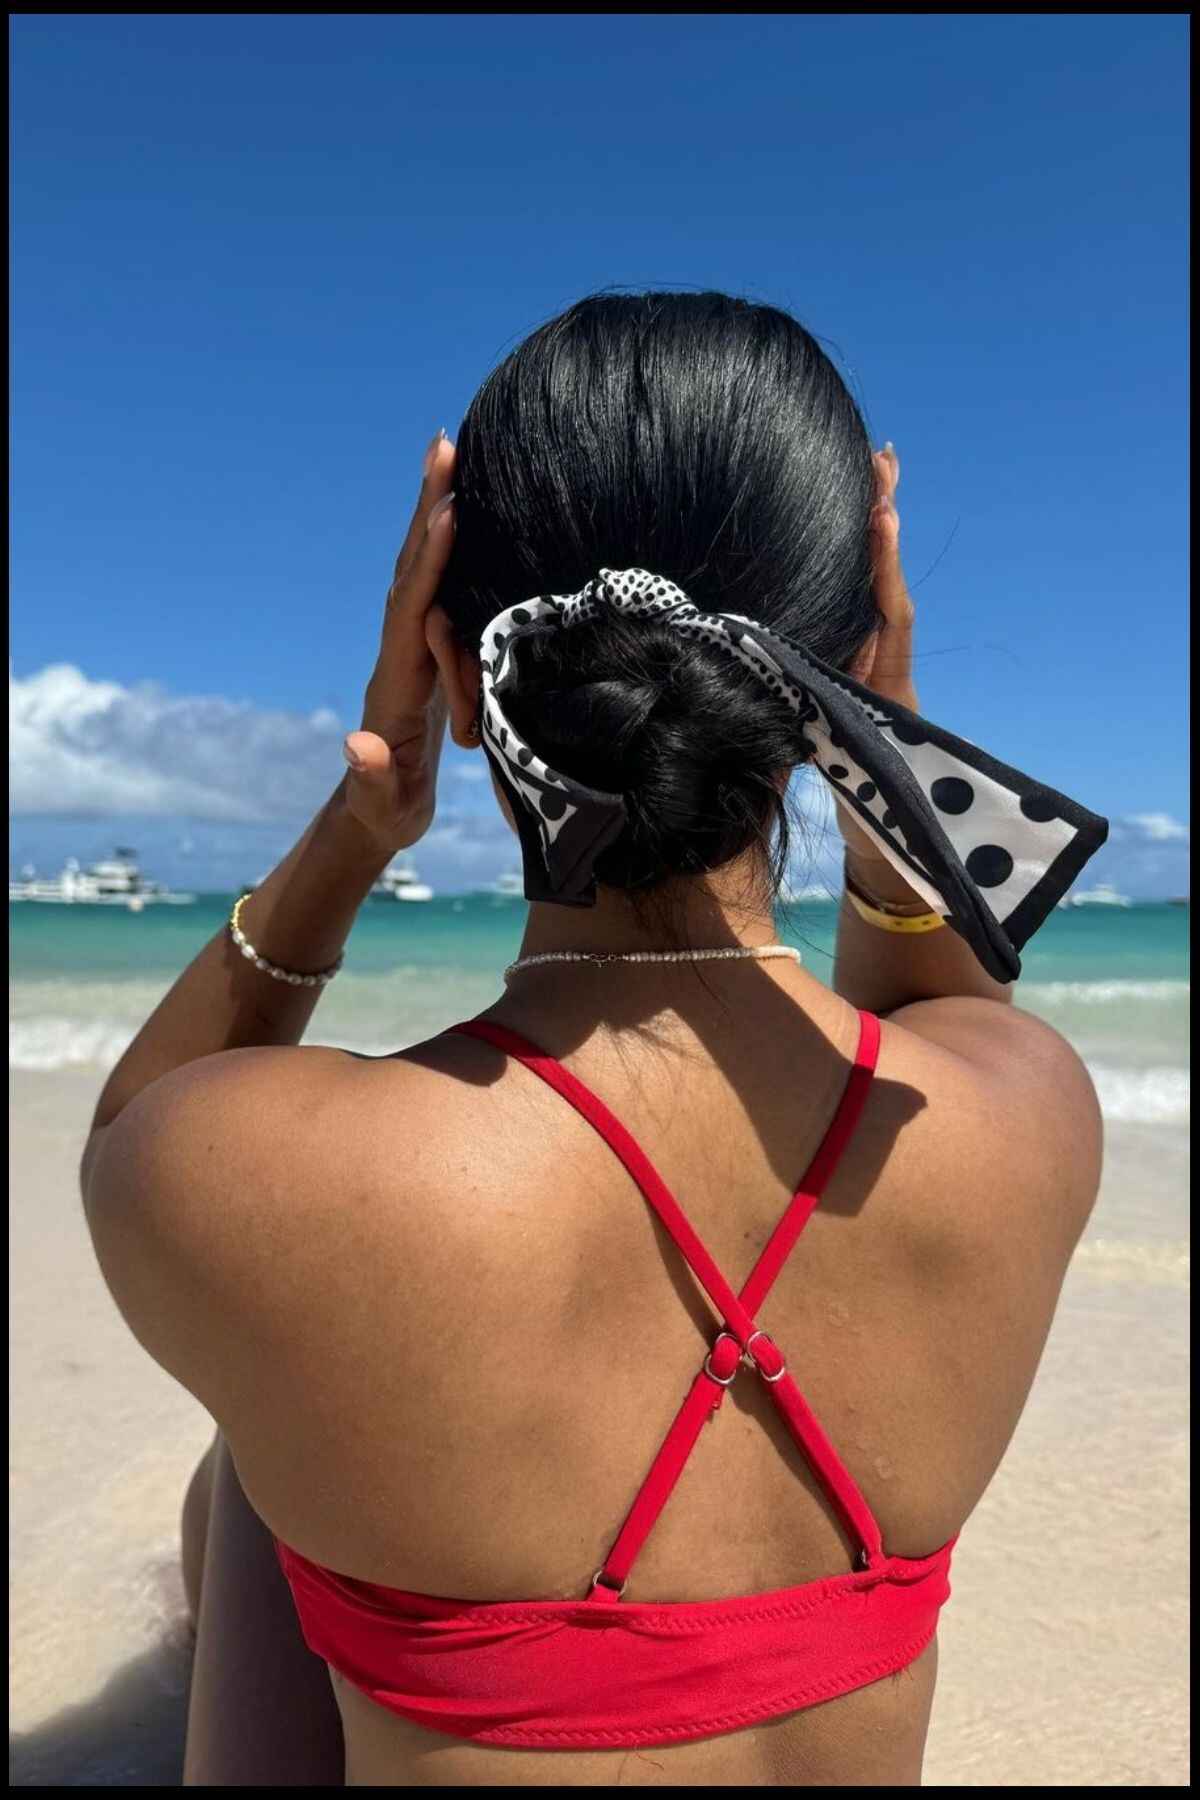
Photo: @aktabavalia_
A low bun with a scarf is a stylish updo where the hair is twisted into a low bun and accessorized with a colorful scarf.
How to Create a Low Bun with a Scarf
Step-by-Step Instructions
- Brush Your Hair: Ensure your hair is tangle-free.
- Gather Your Hair: Pull your hair into a low ponytail.
- Twist and Wrap: Twist your hair and wrap it into a bun at the nape of your neck.
- Add a Scarf: Tie a scarf around the bun for added flair.
Benefits of a Low Bun with a Scarf
- Elegant and Stylish: Adds a chic touch to your look.
- Keeps Hair Secure: Hair stays in place.
10. Side Braid
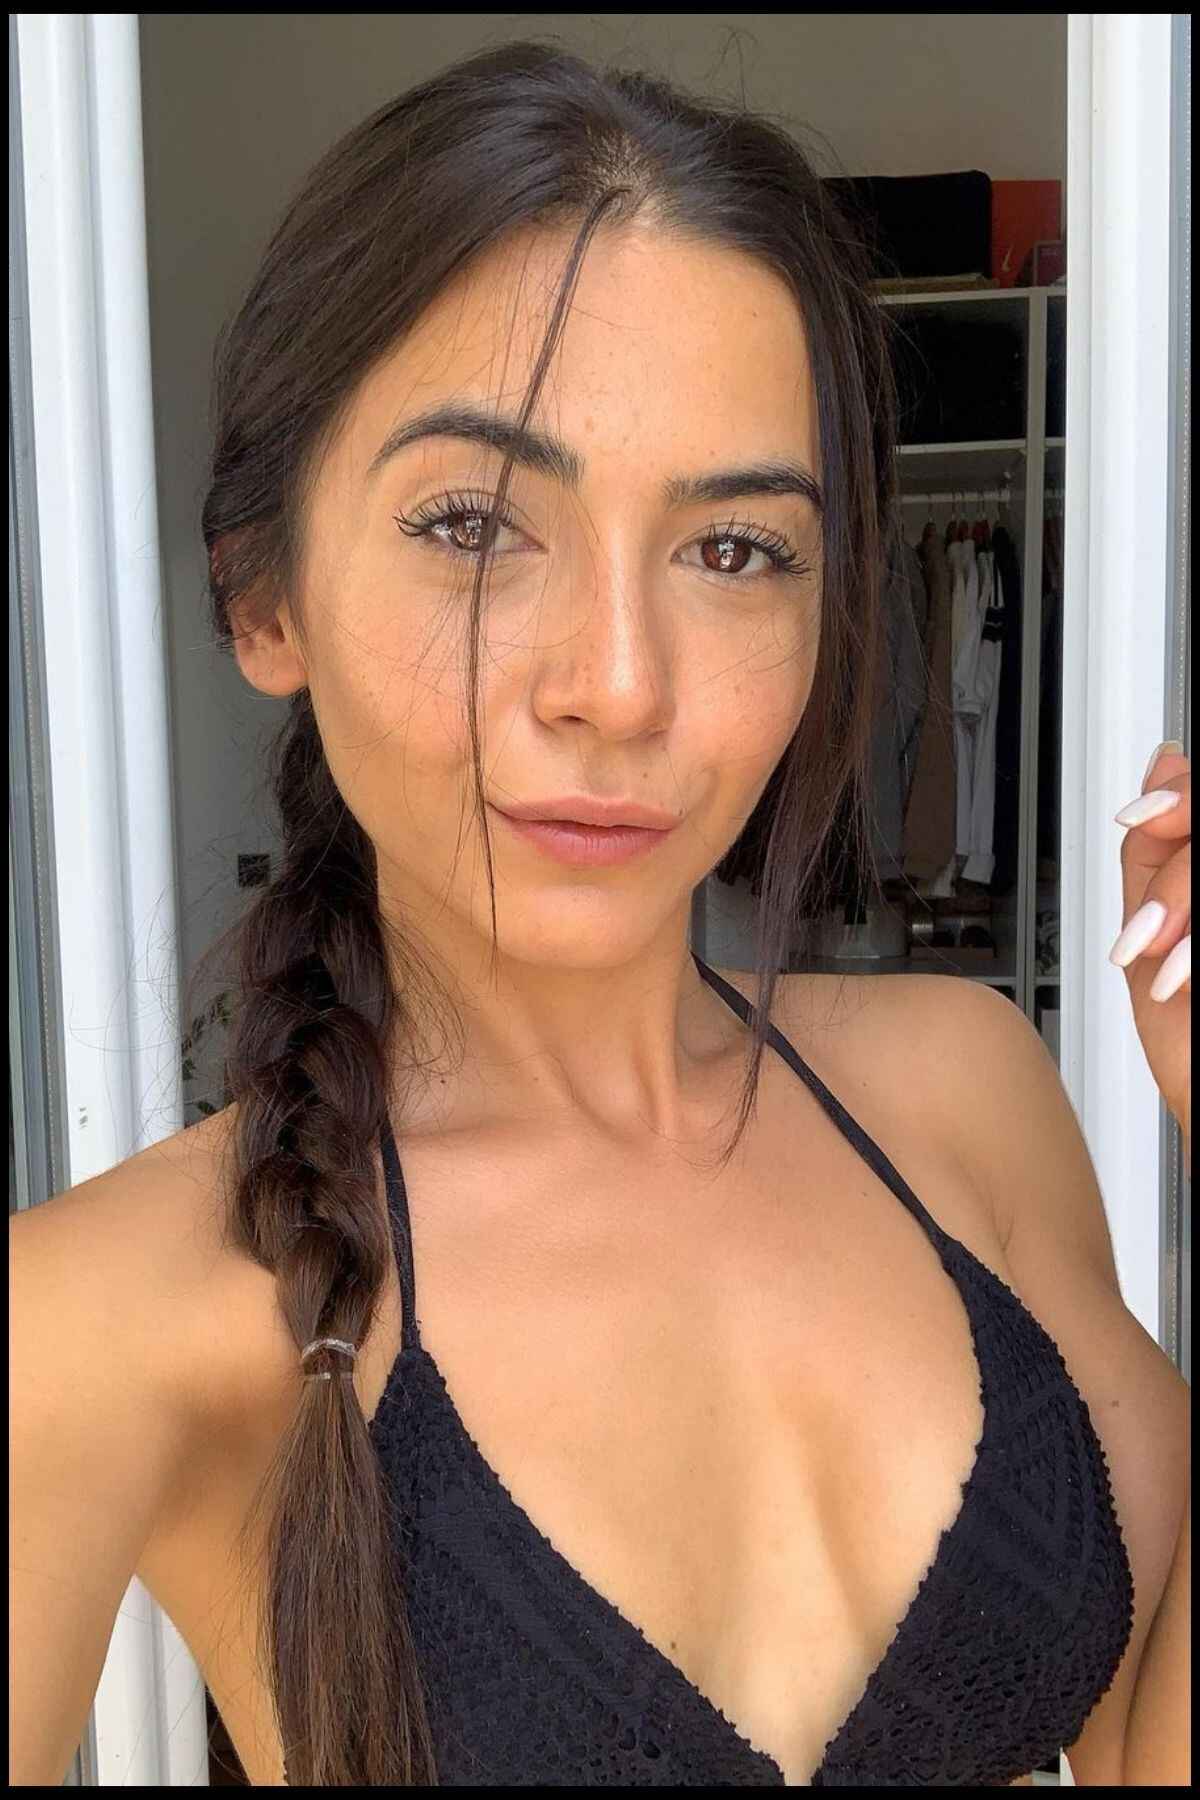
Photo: @avvamarinov_
Side braids are simple braids that start at the side of your head and are great for a casual, fun look.
How to Create Side Braids
Step-by-Step Instructions
- Brush Your Hair: Remove any tangles.
- Part Your Hair: Create a side part.
- Start Braiding: Begin a braid on one side, adding hair as you go.
- Repeat on the Other Side: Repeat the process on the other side of your head.
- Secure the Braids: Use small elastic bands to secure the ends.
Benefits of Side Braids
- Easy to Create: Simple and quick.
- Keeps Hair in Place: Perfect for active water fun.
- Cute and Casual: Ideal for a relaxed, stylish look.
11. Crown Braid
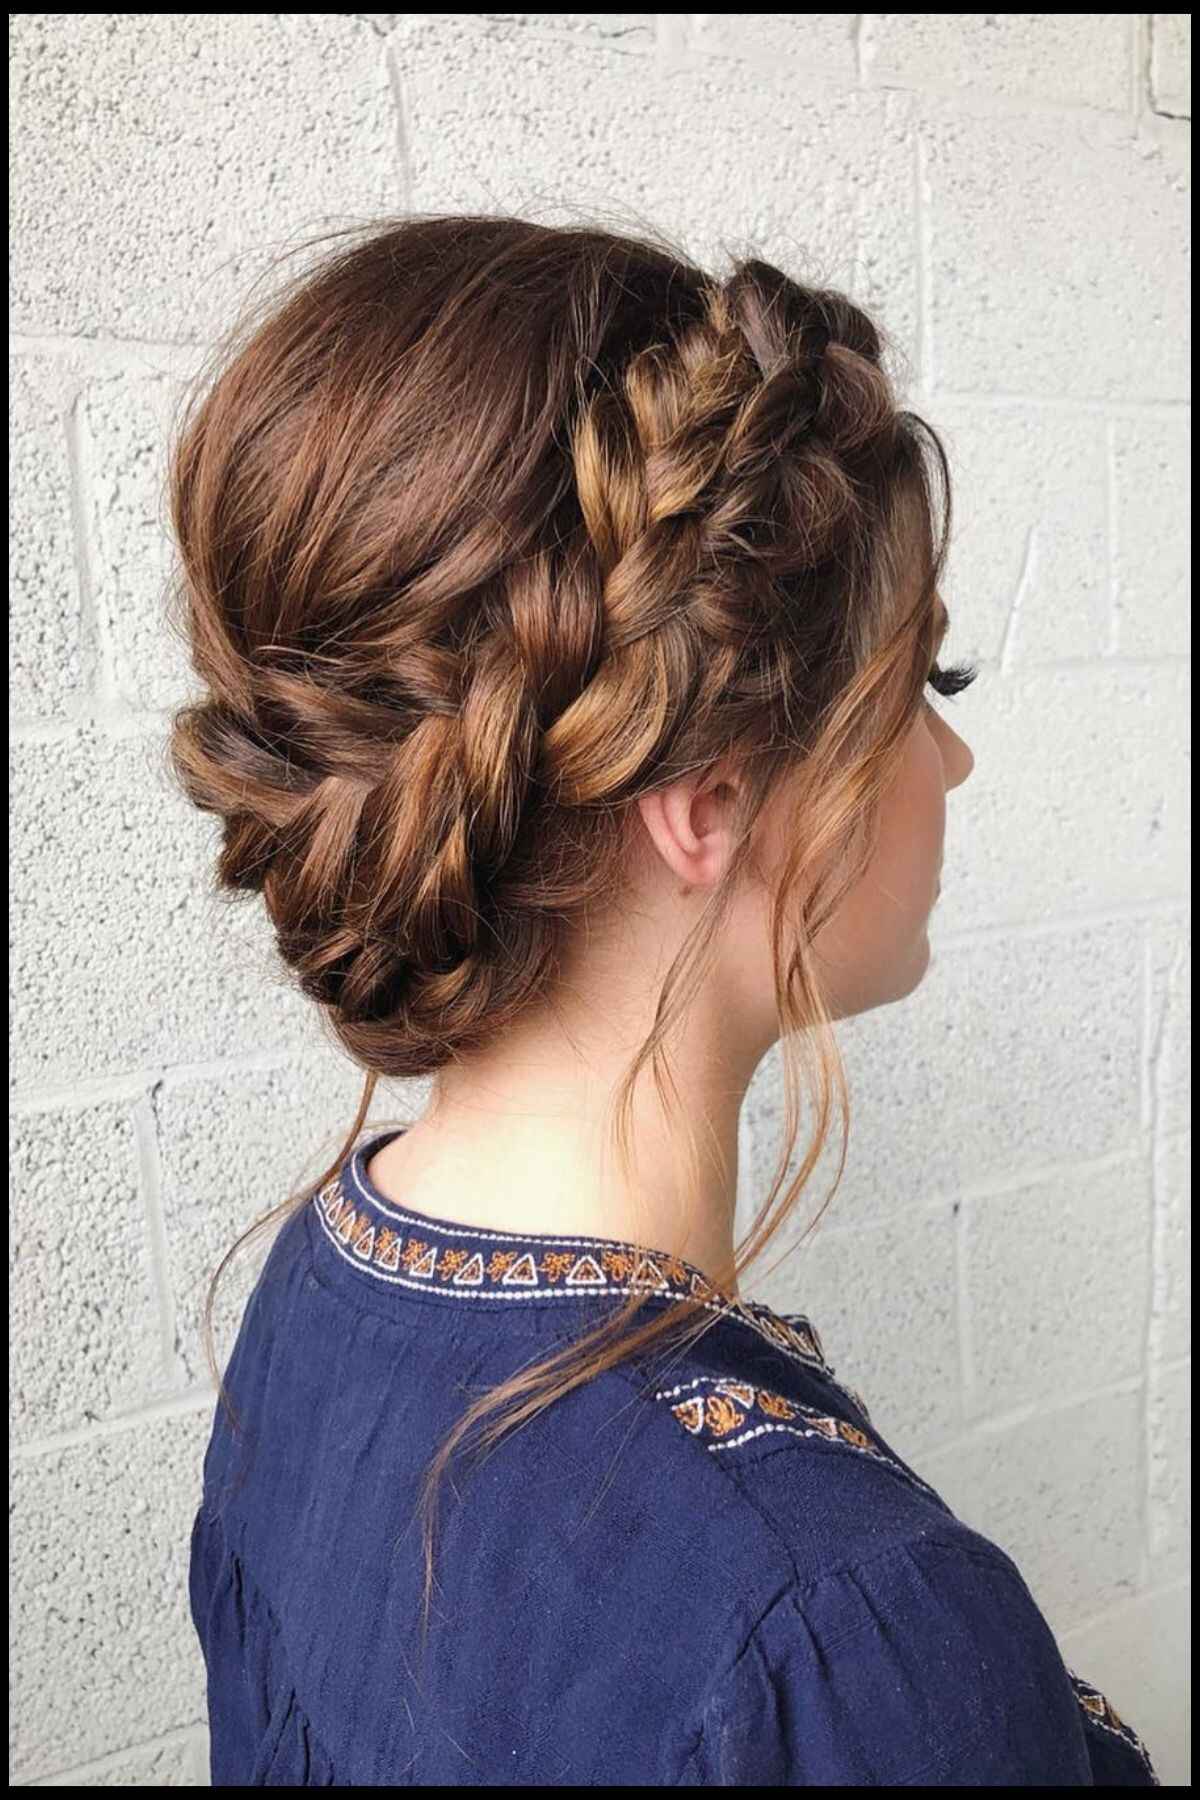
Photo: @krystlewaivio
A crown braid is a braid that wraps around the head like a crown, creating a beautiful and elegant hairstyle.
How to Create a Crown Braid
Step-by-Step Instructions
- Brush Your Hair: Remove any tangles.
- Part Your Hair: Create a deep side part.
- Start Braiding: Begin a French braid at the front of your head, adding hair as you go.
- Wrap Around: Continue braiding around the head, following the hairline.
- Secure the End: Tuck the end of the braid under and secure with pins.
Benefits of a Crown Braid
- Elegant and Pretty: Perfect for special occasions.
- Keeps Hair Secure: Hair stays in place all day.
12. Space Buns
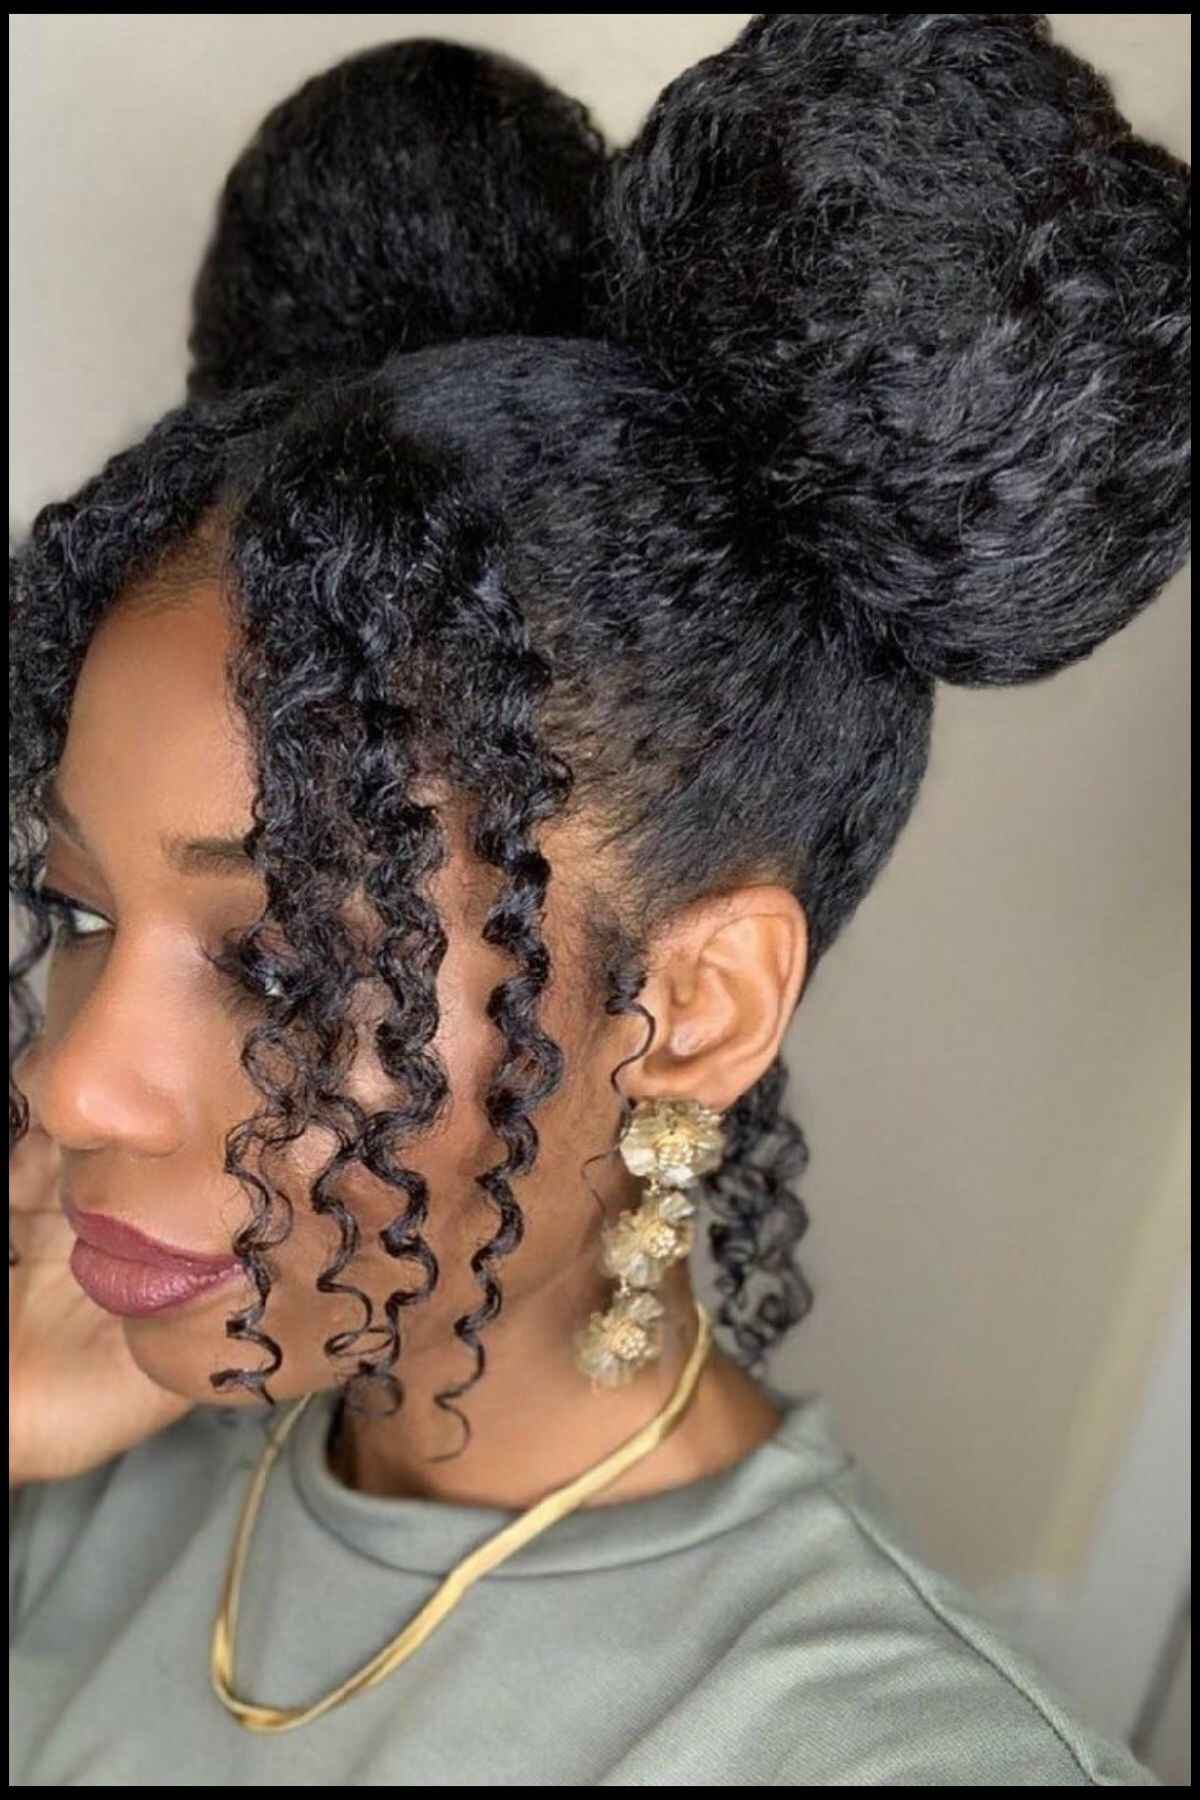
Photo: @protectivestyles
Space buns are two buns placed on the top of the head, giving a fun and playful look.
How to Create Space Buns
Step-by-Step Instructions
- Part Your Hair: Divide your hair into two equal sections.
- Create Buns: Twist each section into a bun on the top of your head.
- Secure the Buns: Use hair ties or pins to secure each bun.
Benefits of Space Buns
- Fun and Playful: Great for a youthful look.
- Keeps Hair Off Your Neck: Perfect for hot days.
13. Boxer Braids
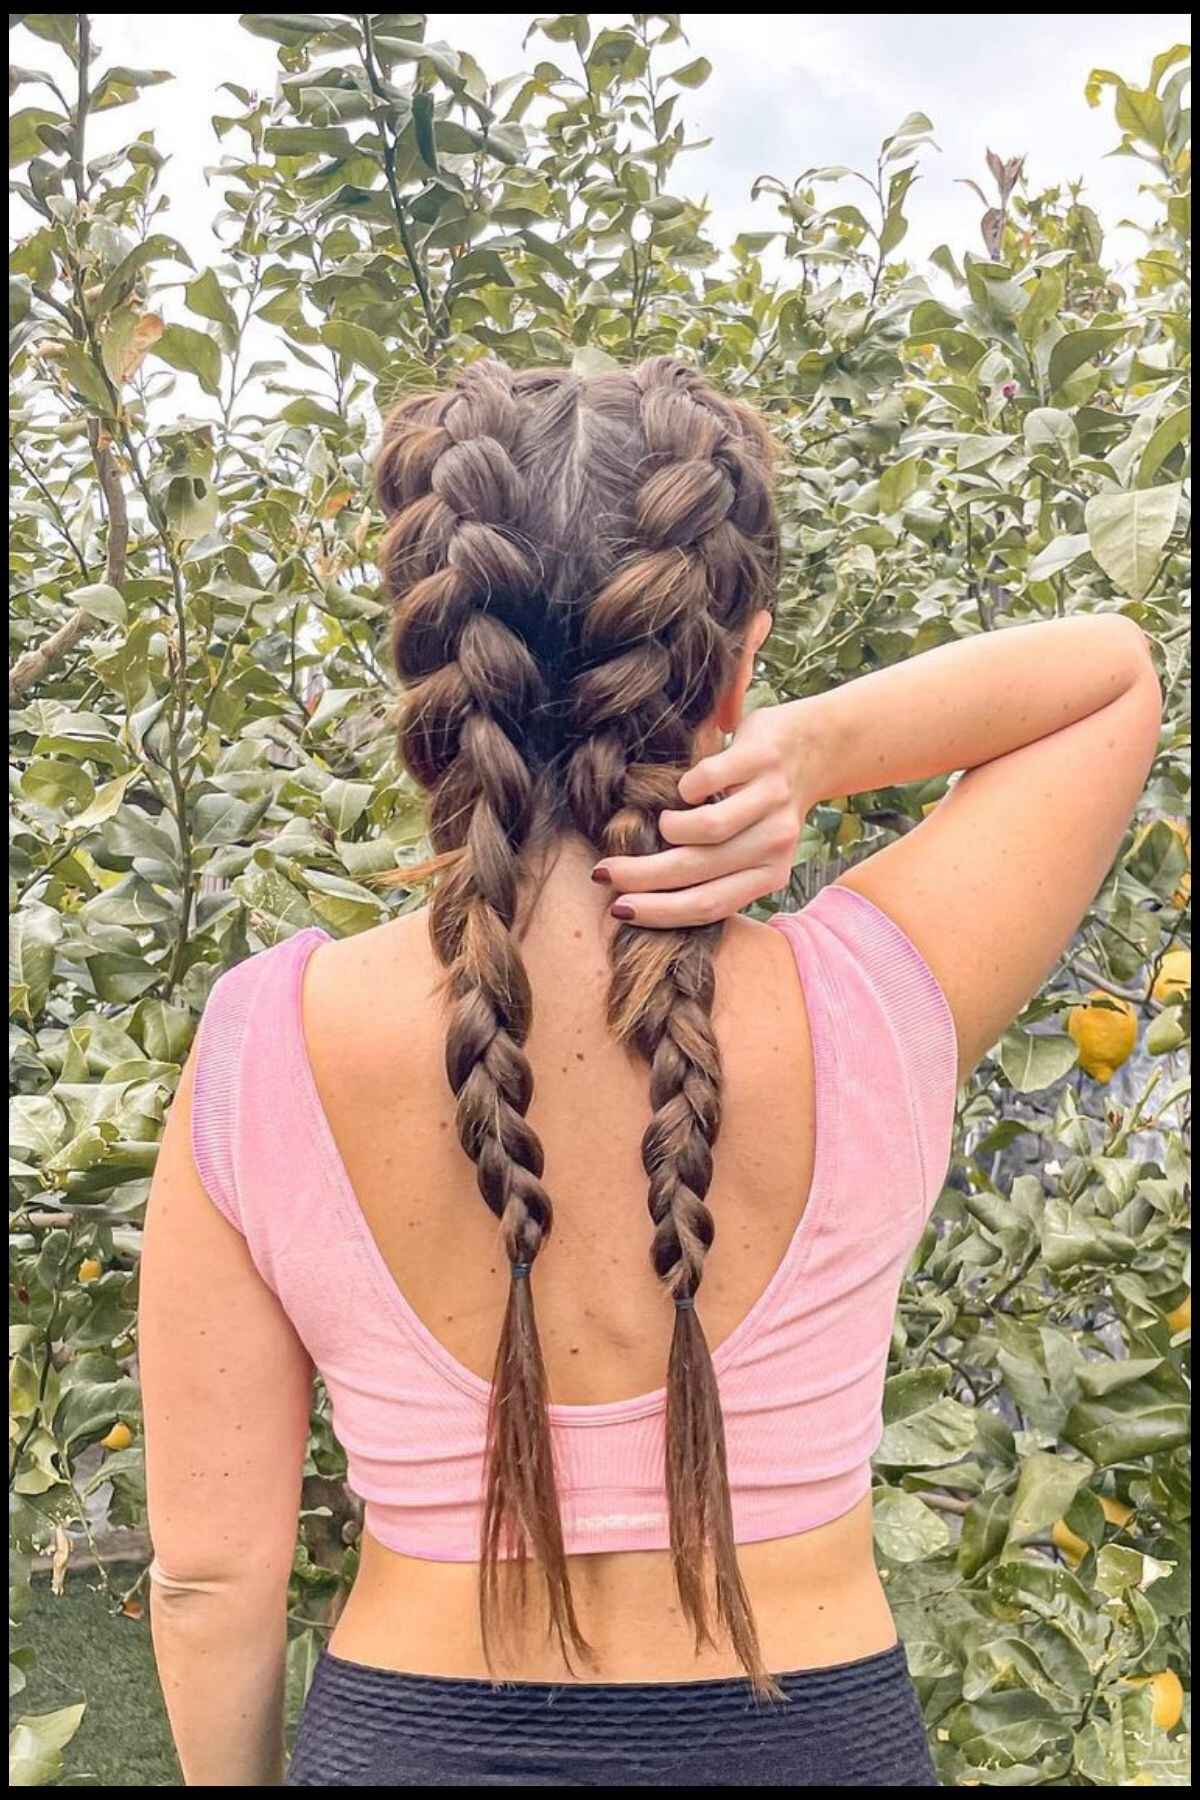
Photo: @leandra_hairtutorial
Boxer braids are two tight Dutch braids that start at the front of the head and go all the way down.
How to Create Boxer Braids
Step-by-Step Instructions
- Part Your Hair: Divide your hair down the middle.
- Start Braiding One Side: Begin a Dutch braid, crossing sections under each other.
- Repeat on the Other Side: Repeat the process on the other side.
- Secure the Braids: Use hair ties to secure the ends.
Benefits of Boxer Braids
- Secure and Long-Lasting: Perfect for a day of water activities.
- Trendy and Cool: A stylish look for any occasion.
14. Braided Buns
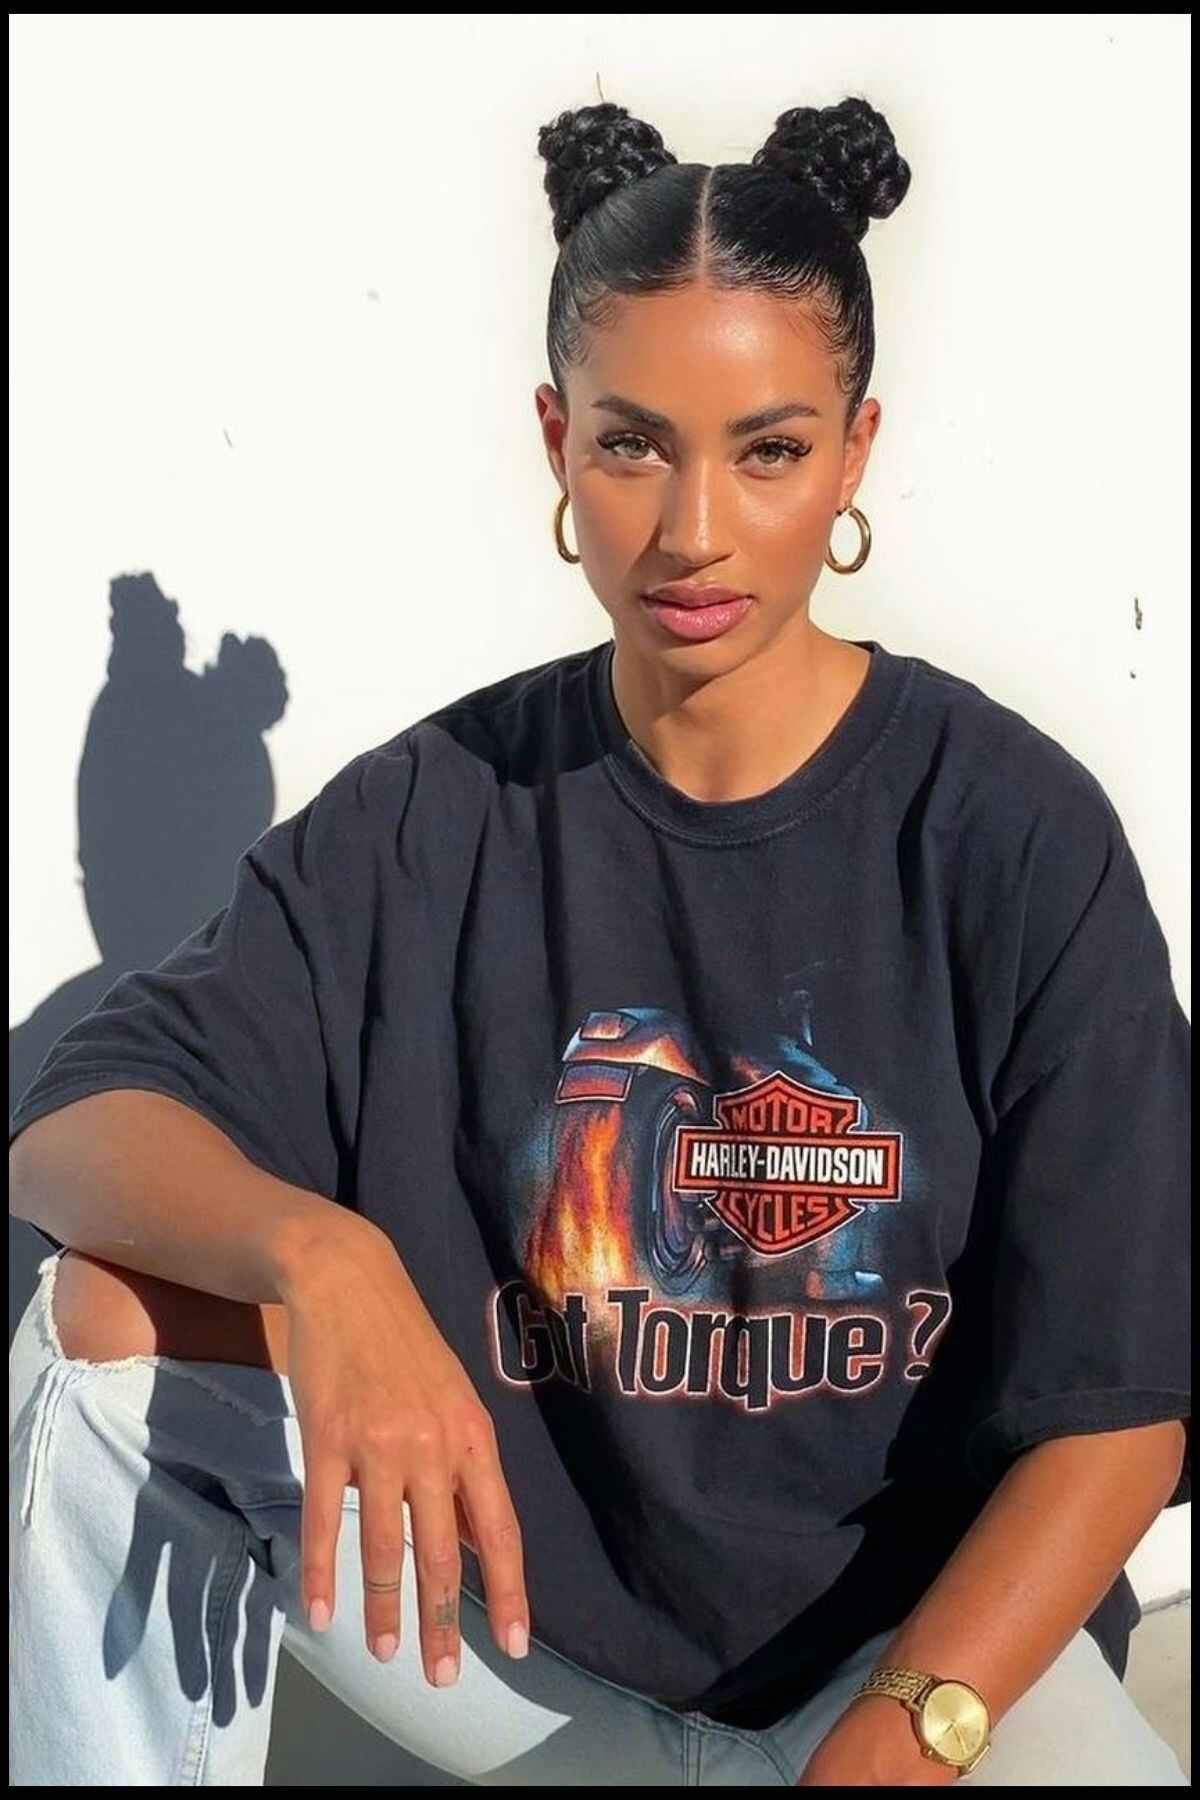
Photo: @ths_thehairstudio
Braided buns are two braids that are wrapped into buns, creating a cute and secure hairstyle.
How to Create Braided Buns
Step-by-Step Instructions
- Part Your Hair: Divide your hair into two sections.
- Create Braids: Braid each section and secure with a hair tie.
- Wrap into Buns: Wrap each braid into a bun and secure it with pins.
Benefits of Braided Buns
- Secure and Neat: Keeps hair in place all day.
- Cute and Stylish: A fun and trendy look.
15. Two Baby Braids And Two Big Braids With A Bandana
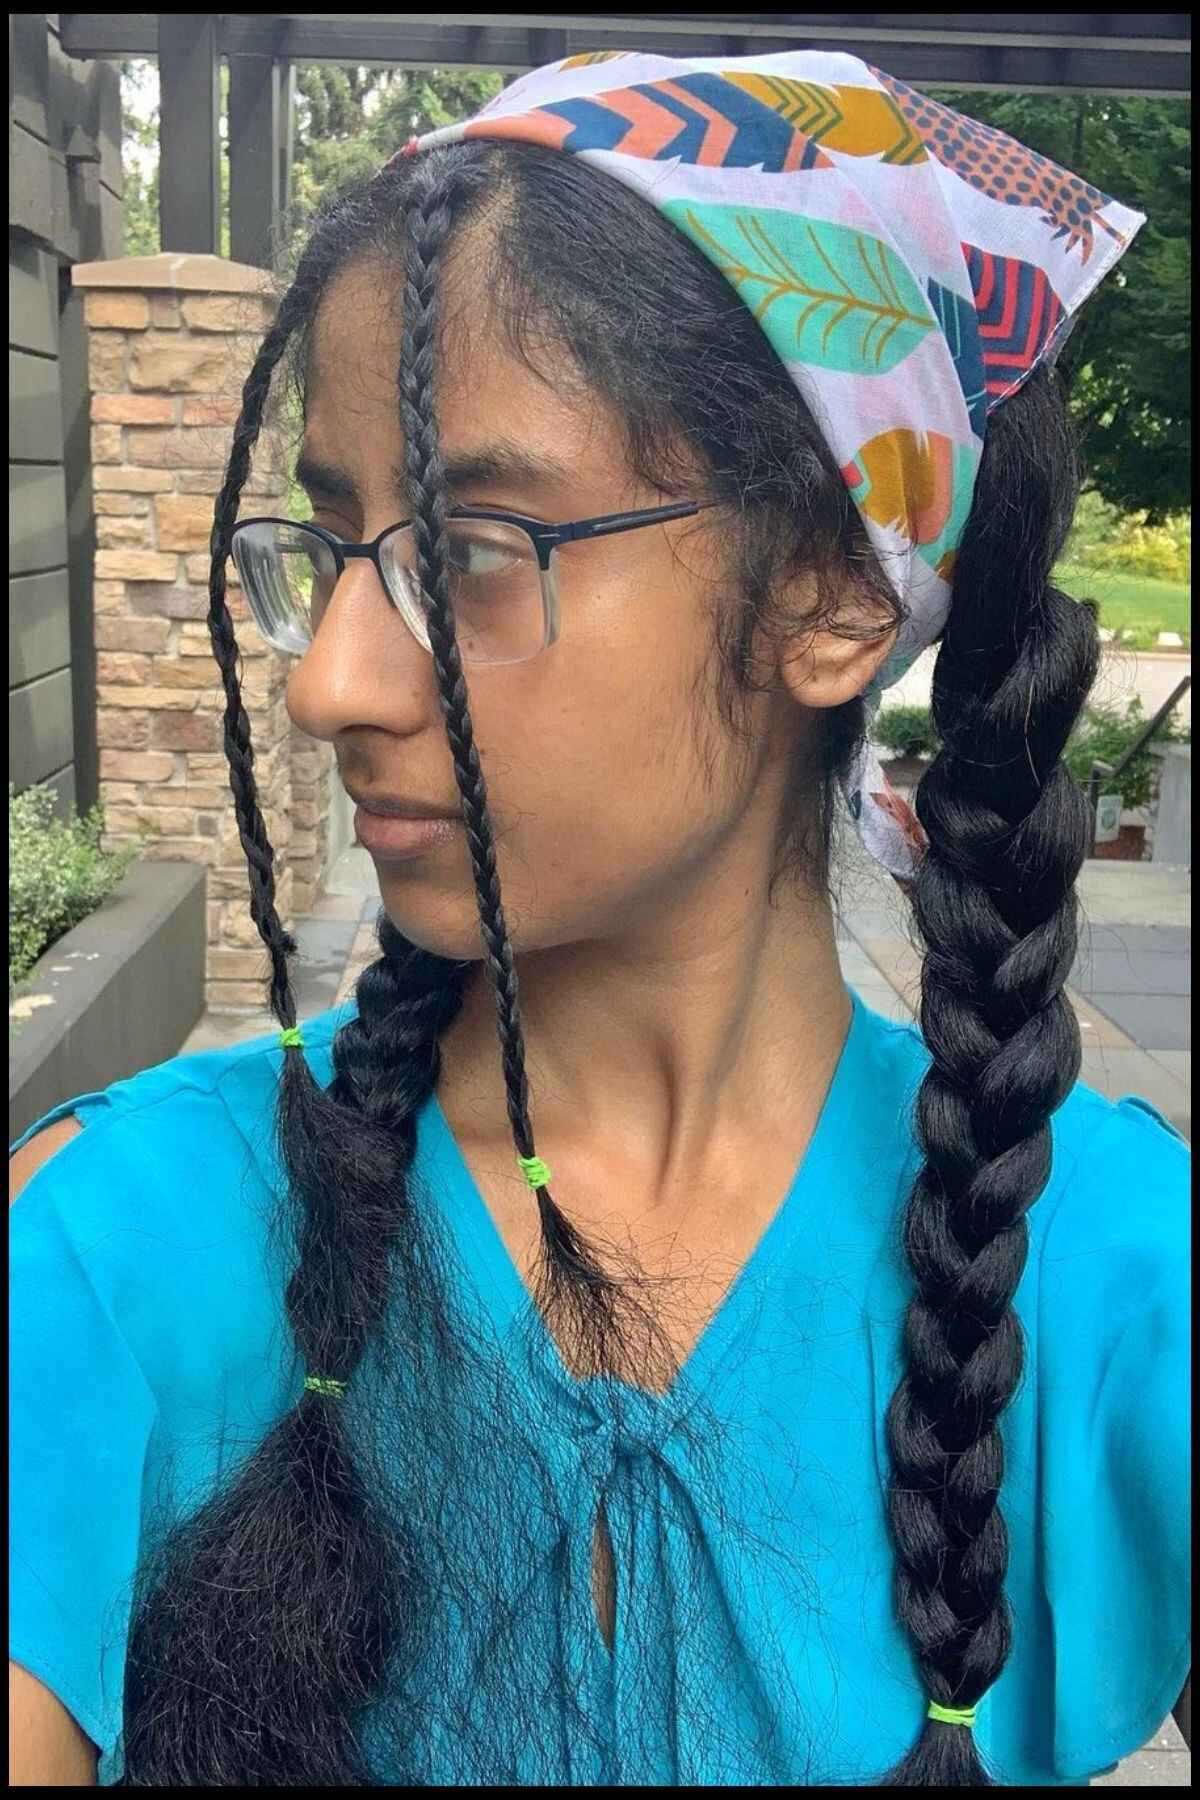
Photo: @braidsbycharu
This hairstyle combines two small braids and two larger braids, all tied together with a bandana for a stylish and secure look.
How to Create This Hairstyle
Step-by-Step Instructions
- Part Your Hair: Divide your hair into four sections.
- Create Baby Braids: Braid the two front sections into small braids.
- Create Big Braids: Braid the two back sections into larger braids.
- Tie with a Bandana: Use a bandana to tie all the braids together.
Benefits of This Hairstyle
- Unique and Stylish: Combines multiple braids for a distinct look.
- Keeps Hair Secure: Hair stays in place.
16. Braided Ponytail
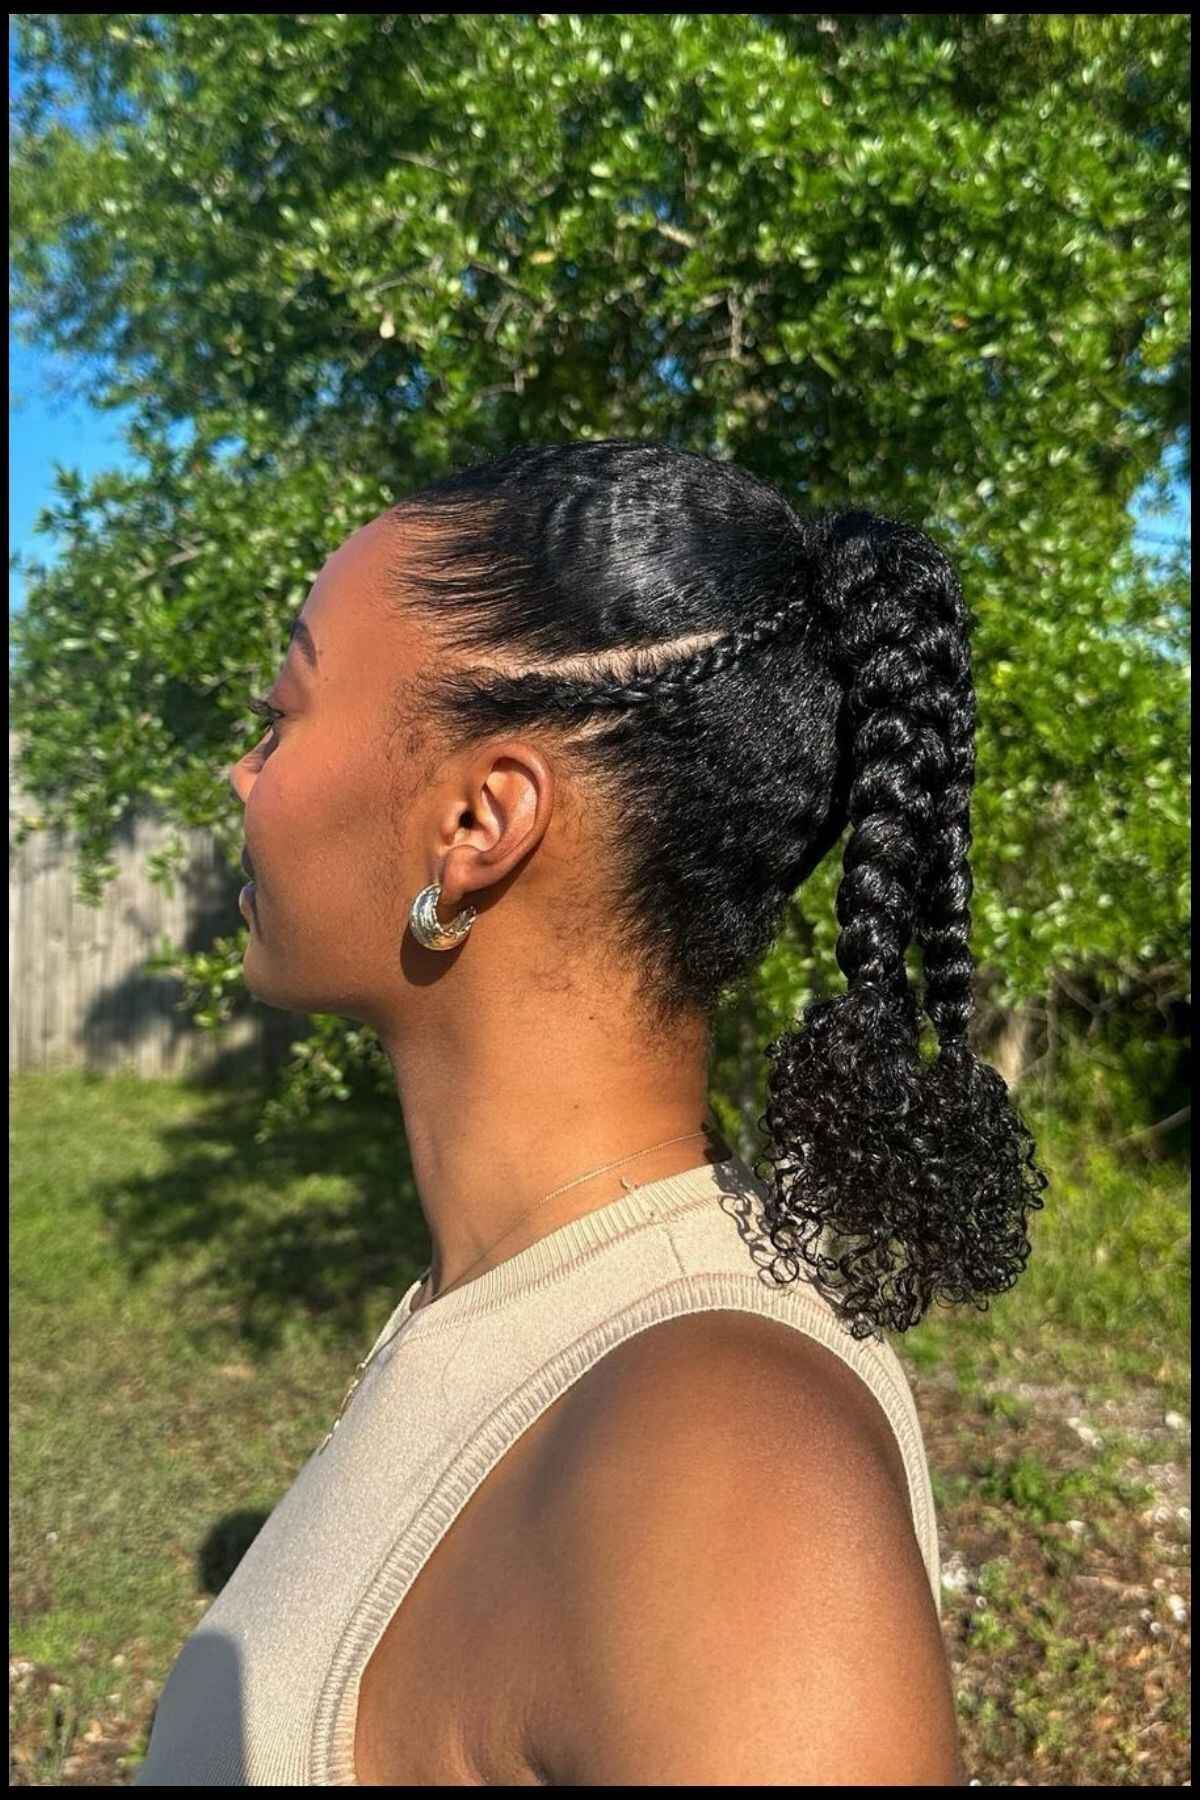
Photo: @tiana.my
A braided ponytail is a simple ponytail where the hair is braided from the base to the end.
How to Create a Braided Ponytail
Step-by-Step Instructions
- Create a Ponytail: Gather your hair into a high ponytail.
- Braid the Ponytail: Braid the length of the ponytail.
- Secure the End: Use an elastic band to secure the end of the braid.
Benefits of a Braided Ponytail
- Easy to Create: Simple and quick.
- Keeps Hair in Place: Hair stays secure.
17. Scarf Braid
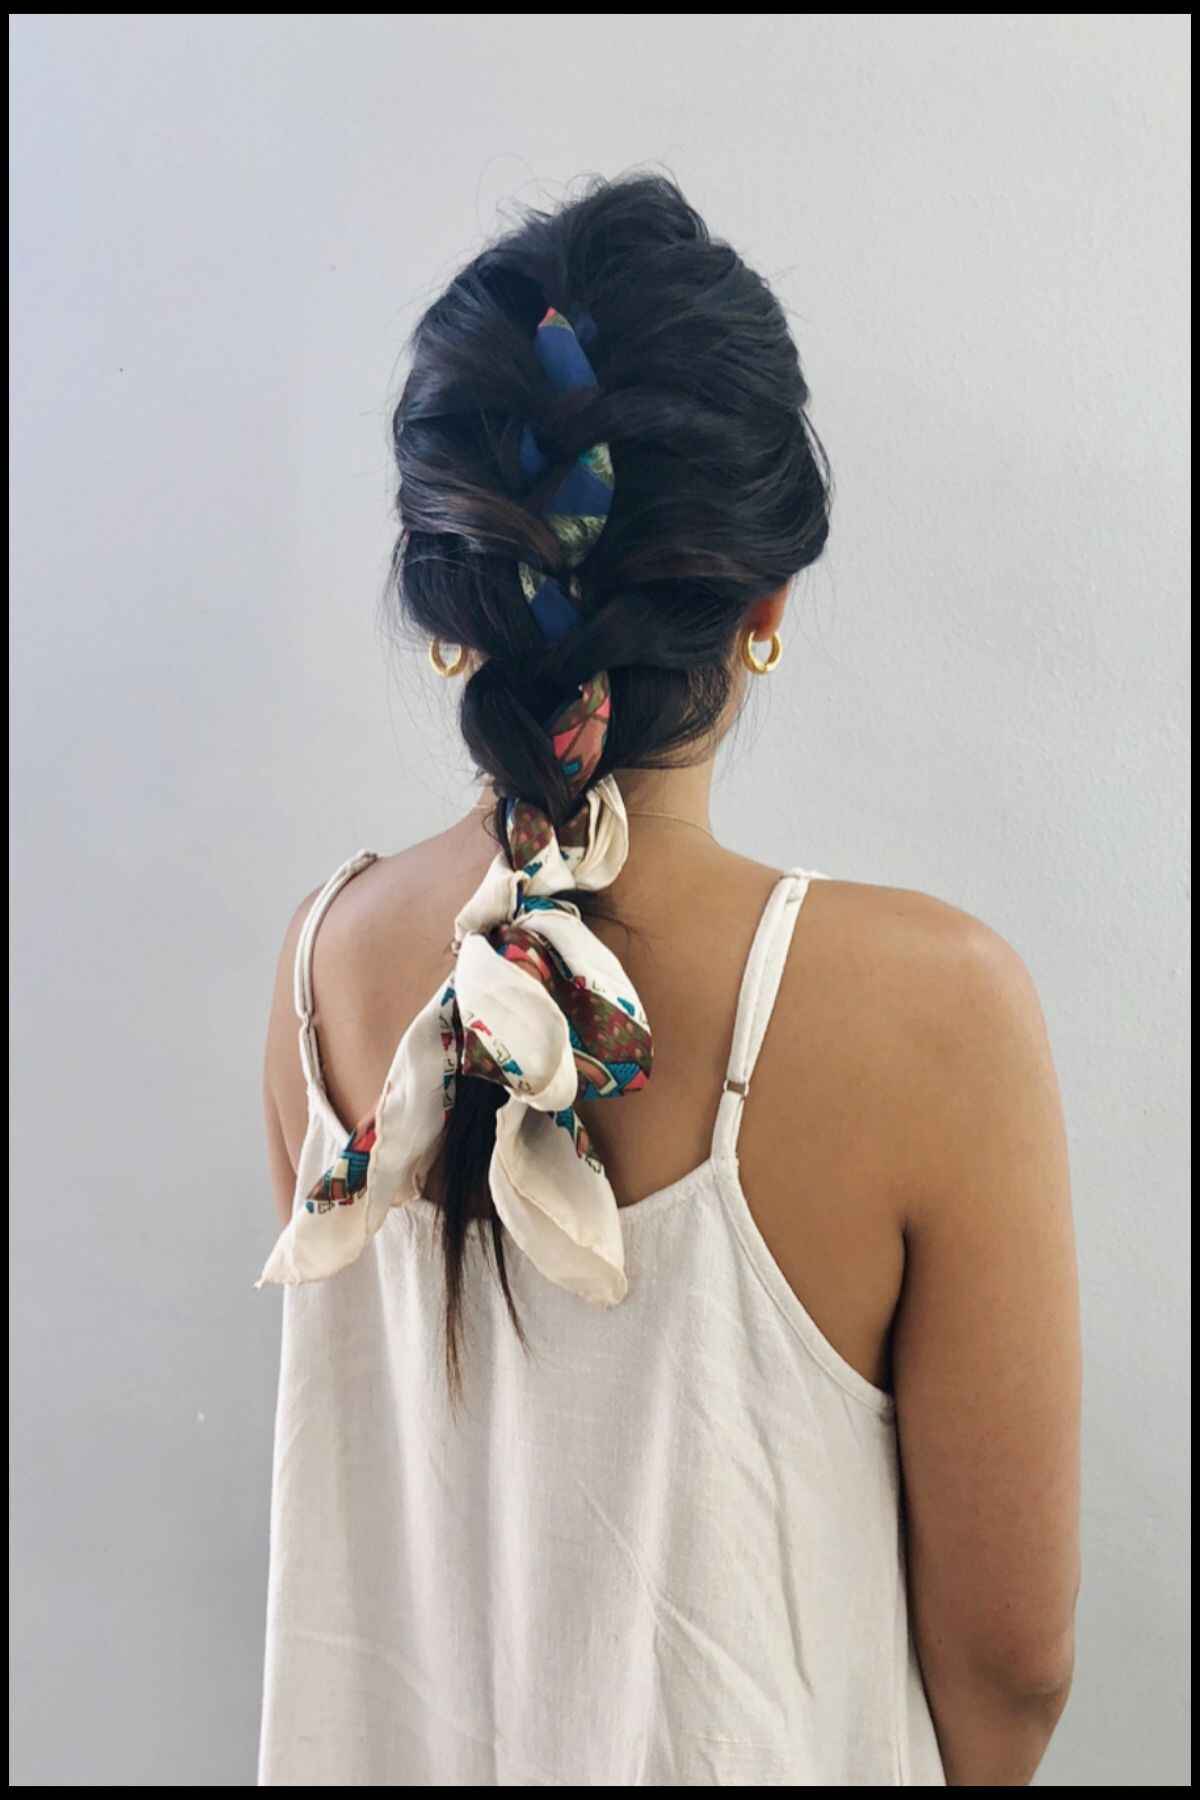
Photo: @saratan
A scarf braid is a braid that incorporates a scarf into the braid, adding a touch of color and style.
How to Create a Scarf Braid
Step-by-Step Instructions
- Choose a Scarf: Select a scarf that matches your outfit.
- Create a Ponytail: Gather your hair into a ponytail.
- Add the Scarf: Tie the scarf around the base of the ponytail.
- Braid with the Scarf: Incorporate the scarf into your braid.
- Secure the End: Use an elastic band to secure the end.
Benefits of a Scarf Braid
- Adds Color and Style: The scarf adds a unique touch.
- Keeps Hair Secure: Hair stays in place.
18. Two Braids Crossed Into Pigtails
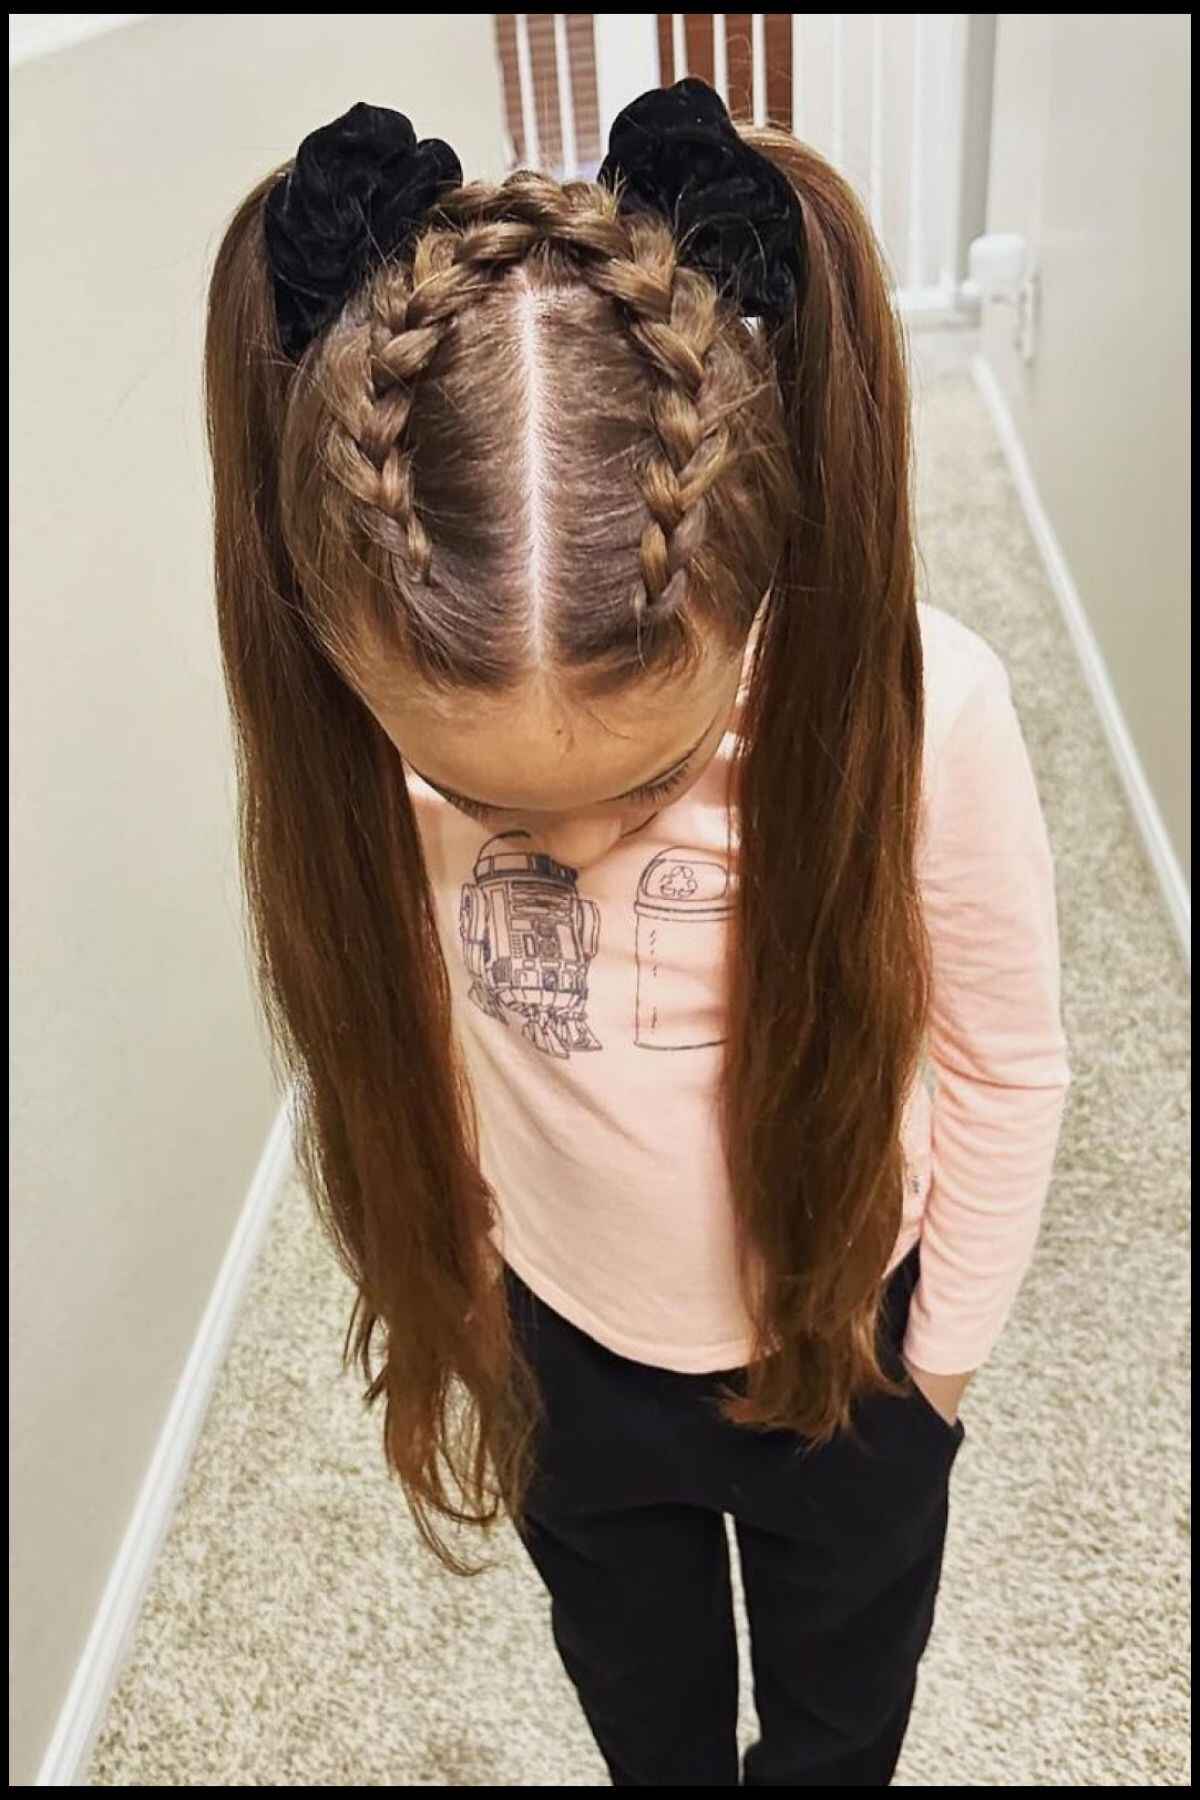
Photo: @braidingbeautyb
This hairstyle involves creating two braids that are crossed over and tied into pigtails, resulting in a cute and secure style.
How to Create This Hairstyle
Step-by-Step Instructions
- Part Your Hair: Divide your hair into two sections.
- Create Braids: Braid each section.
- Cross the Braids: Cross the braids over each other at the back of your head.
- Secure into Pigtails: Tie each braid into a pigtail.
Benefits of This Hairstyle
- Cute and Fun: A playful look.
- Keeps Hair in Place: Hair stays secure all day.
Other Tips for Waterpark Hairstyles
Prepping Your Hair
- Condition Well: Use a leave-in conditioner before you braid your hair to protect it from chlorine and sun.
- Avoid Heat: Don’t use heat tools before your water adventure; natural hair is best.
Caring for Your Hair Post-Waterpark
- Rinse Immediately: Rinse your hair as soon as possible after swimming to remove chlorine.
- Deep Condition: Use a deep conditioner to restore moisture to your hair.
- Avoid Tight Hairstyles: Give your hair a break from tight styles to prevent breakage.
Choosing the Right Hair Products
| Product Type | Description | Price Range |
| Leave-In Conditioner | Protects hair from chlorine and sun | $6 – $20 |
| Anti-Frizz Spray | Keeps hair smooth and free of frizz | $5 – $15 |
| Detangling Spray | Makes it easier to brush out your hair after swimming | $4 – $12 |
Take Note
Waterpark hairstyles are not just about looking pretty. They help keep your hair manageable and protected while you enjoy your day of water fun. From the mermaid braid to space buns, there are plenty of styles to choose from.
With these hairstyles, you can look great, feel comfortable, and protect your hair from damage.
So next time you head to the waterpark, give one of these styles a try and enjoy a hassle-free, stylish day in the sun!

